")
[ad_1]
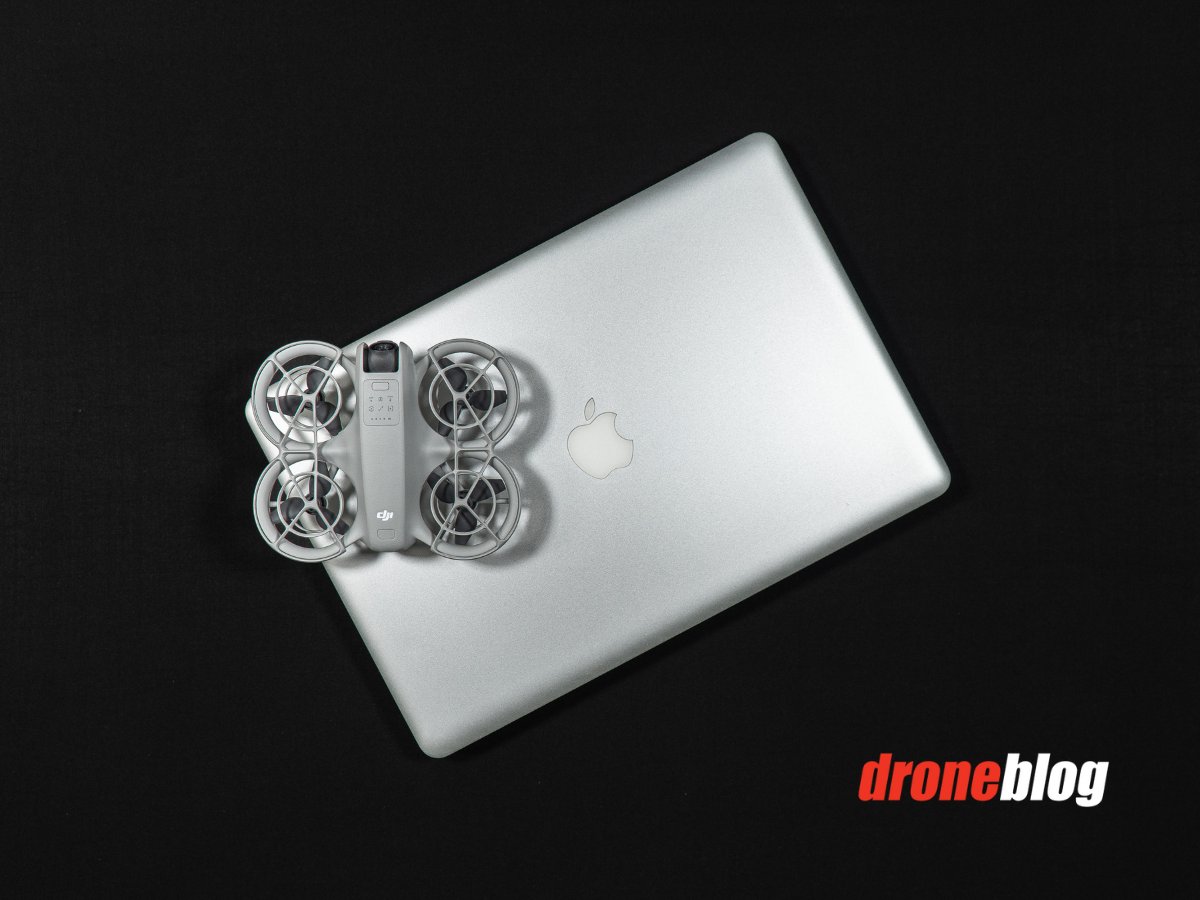
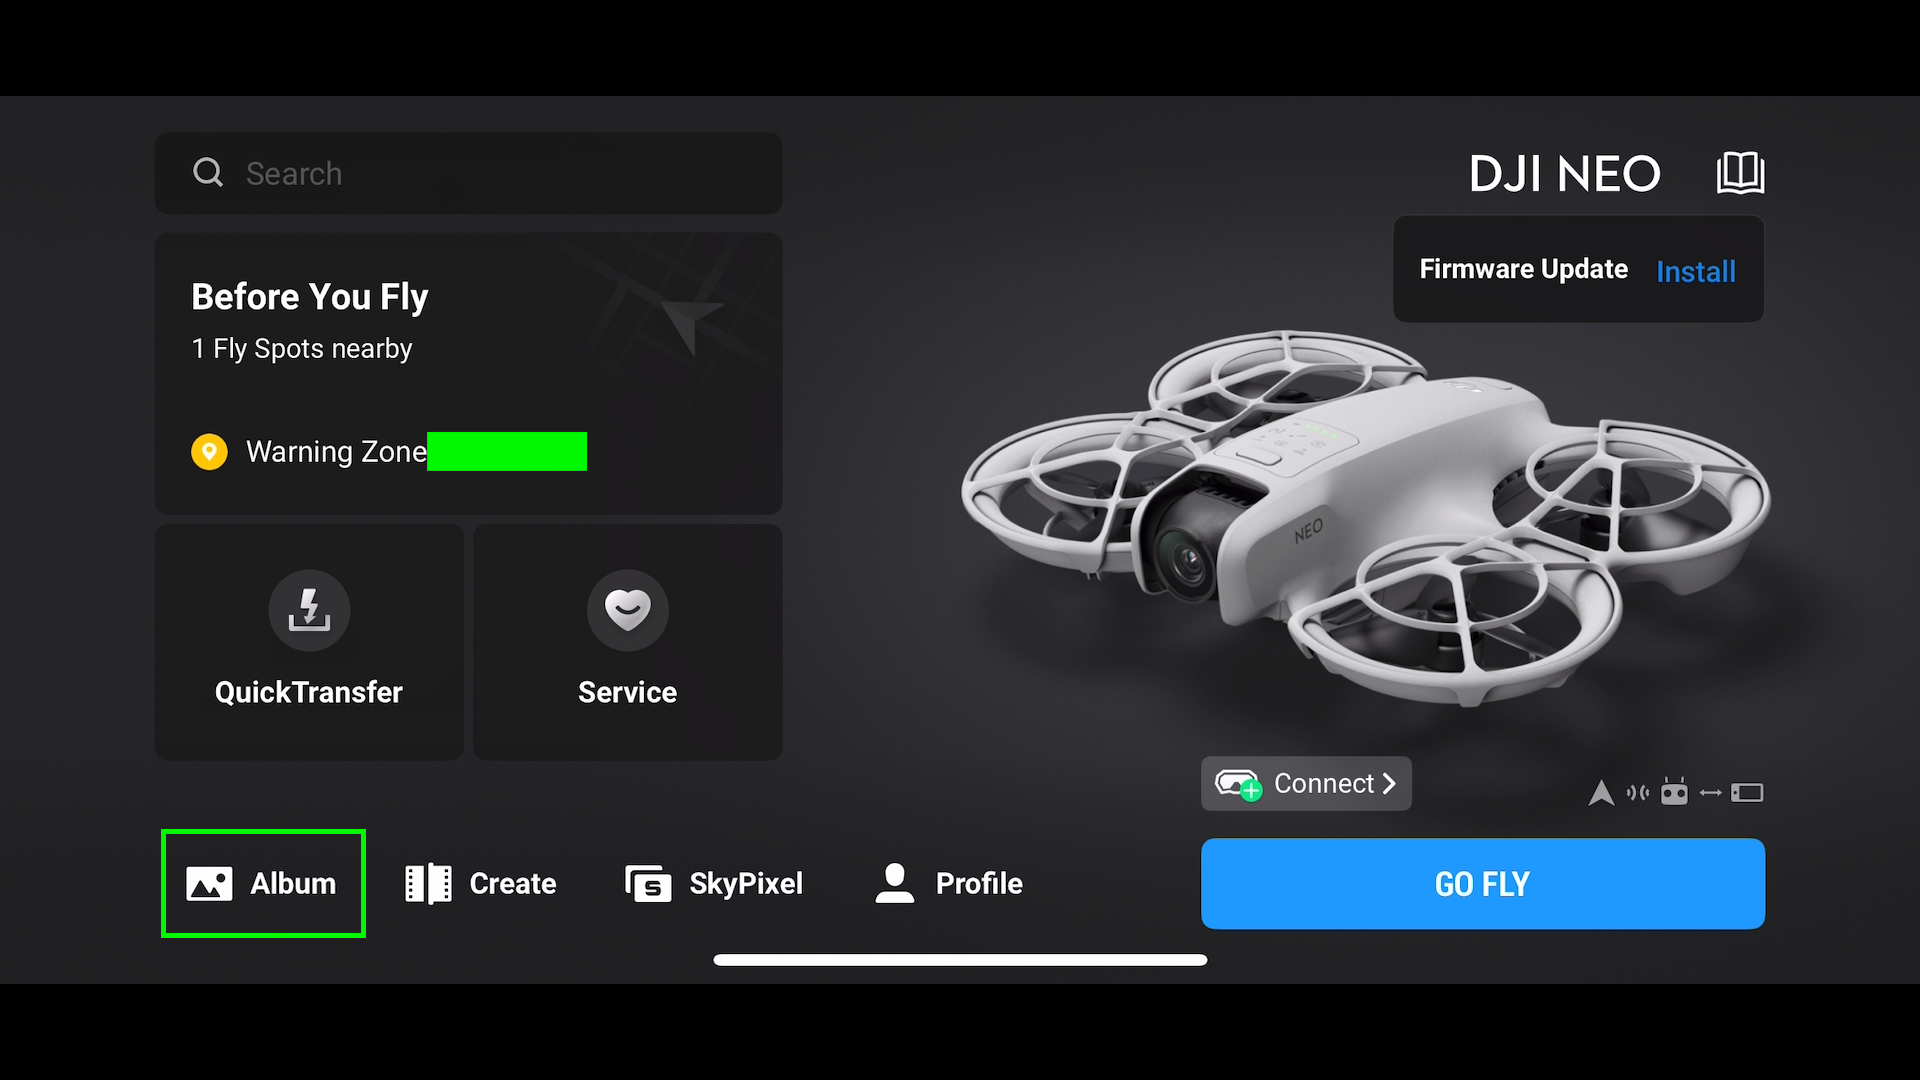
The DJI Neo is an improbable starter drone and an all-around a laugh drone for seasoned drone house owners.
One of the most extra notable facets is that the Neo does now not desire a telephone or far off controller to fly. You’ll fly the Neo by way of merely deciding on an automatic flight mode the use of the mode button at the best.
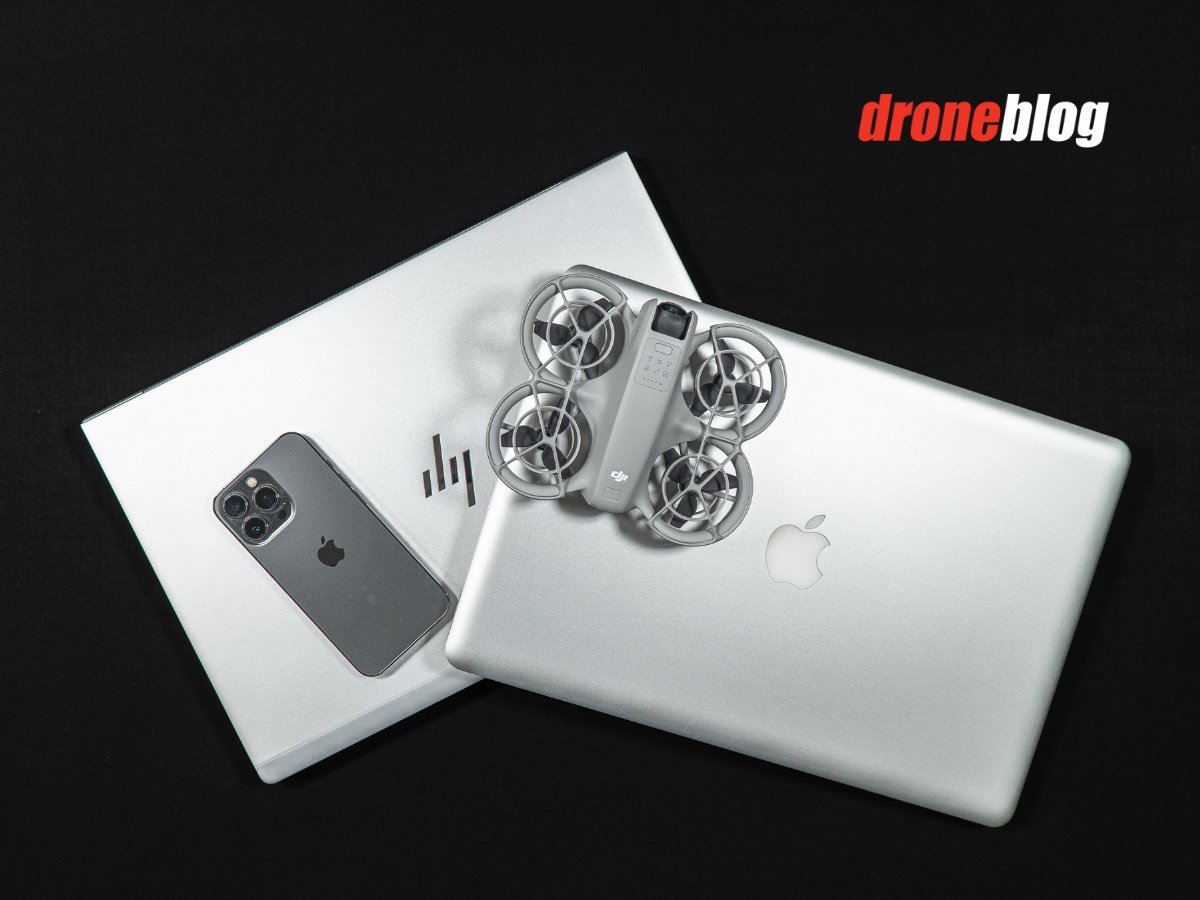

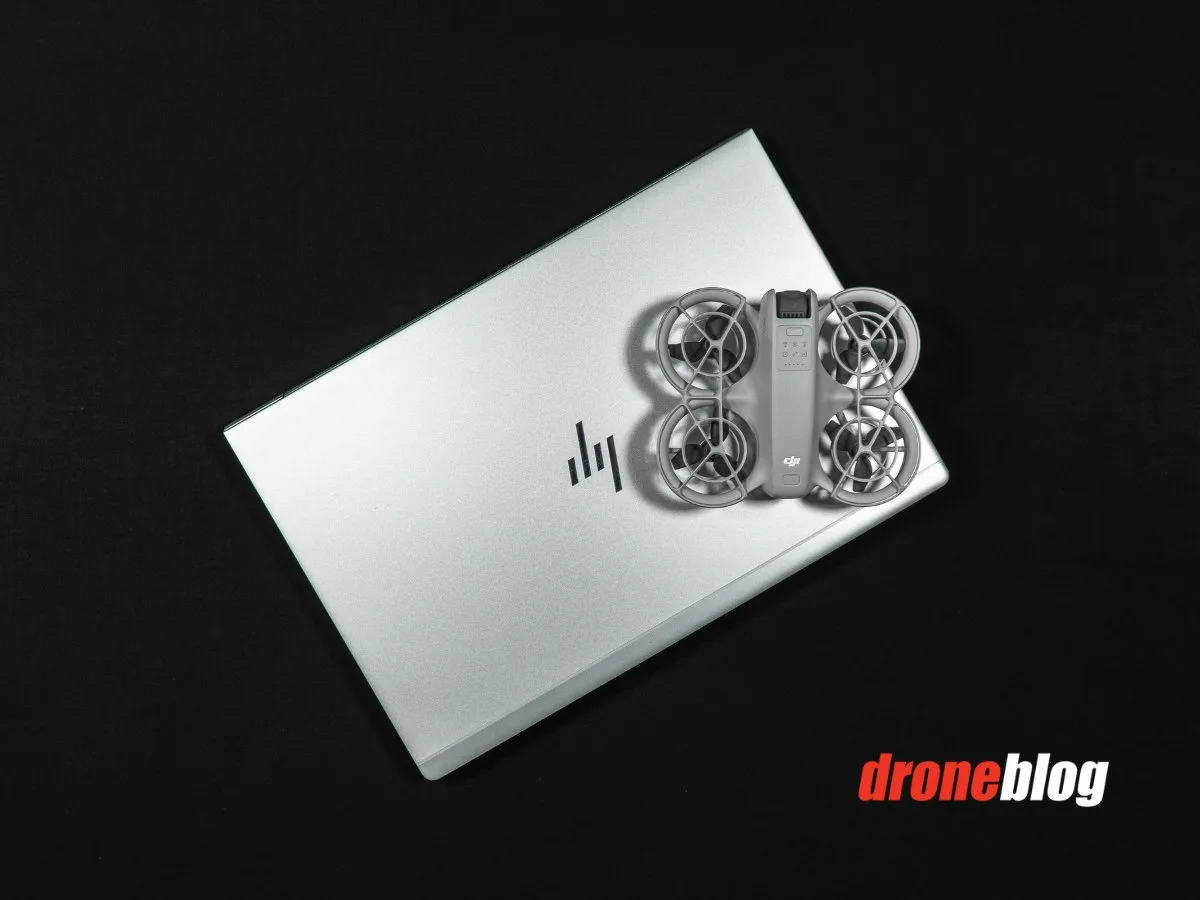
One thing else notable in regards to the DJI Neo is that it does now not have a detachable Micro SD Card, as maximum DJI drones do. All media recorded by way of the DJI Neo is saved internally.
This complete information, with screenshots, will stroll via downloading pictures and movies if the use of:
- A Home windows PC or a Mac
- A DJI RC-N3/RC-N2 or
- The DJI Fast Switch function
Downloading Pictures & Movies
As discussed, the DJI Neo has no detachable SD Card. All media is saved on 22GB interior garage. Even supposing there’s this limitation, fortunately content material stored to the Neo can also be accessed the use of more than a few strategies.
Those strategies are:
- Downloading/shifting information to a PC or Mac the use of the direct attach manner
- At once copying information for your Smartphone whilst hooked up to a DJI RC-N3 or RC-N2
- The Fast Switch Characteristic
Downloading the use of a Home windows PC

STEP 1: Attach a USB to USB-C cable for your Home windows PC, plugging the USB facet into an empty USB slot for your Home windows PC.
STEP 2: Whilst the Neo is off, plug the USB-C finish into the Neo.
STEP 3: Your Home windows PC will have to acknowledge the Neo interior garage within the background. I in the past categorized my Neo Inner Garage as NeoInternal.
Observe: Like DJIs latest line of drones, there is not any want to energy at the Neo, as when it connects to the Mac by way of USB-C, the interior garage is on the market.
STEP 4: Home windows/Document Explorer would possibly routinely release. If it does now not, open your Home windows/Document Explorer by way of right-clicking at the Home windows icon at the backside of your PC and opting for Document Explorer.

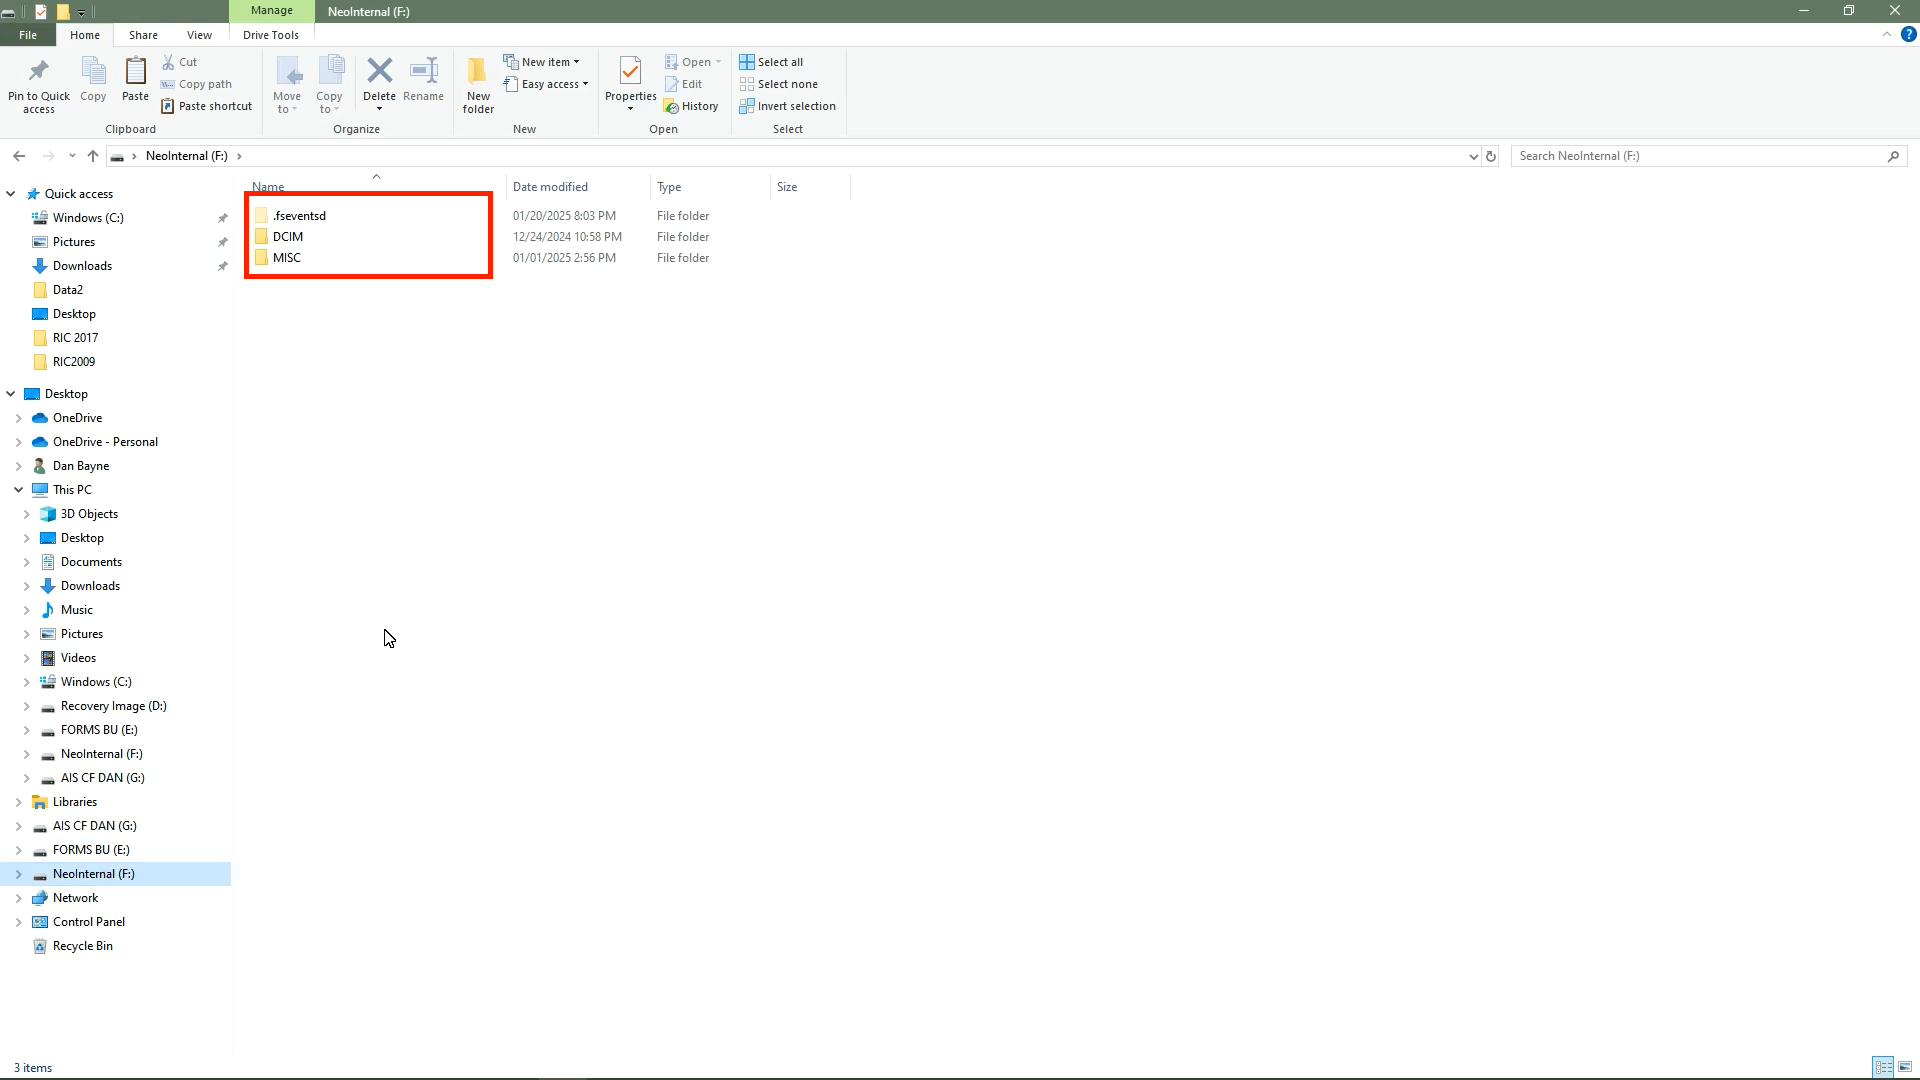
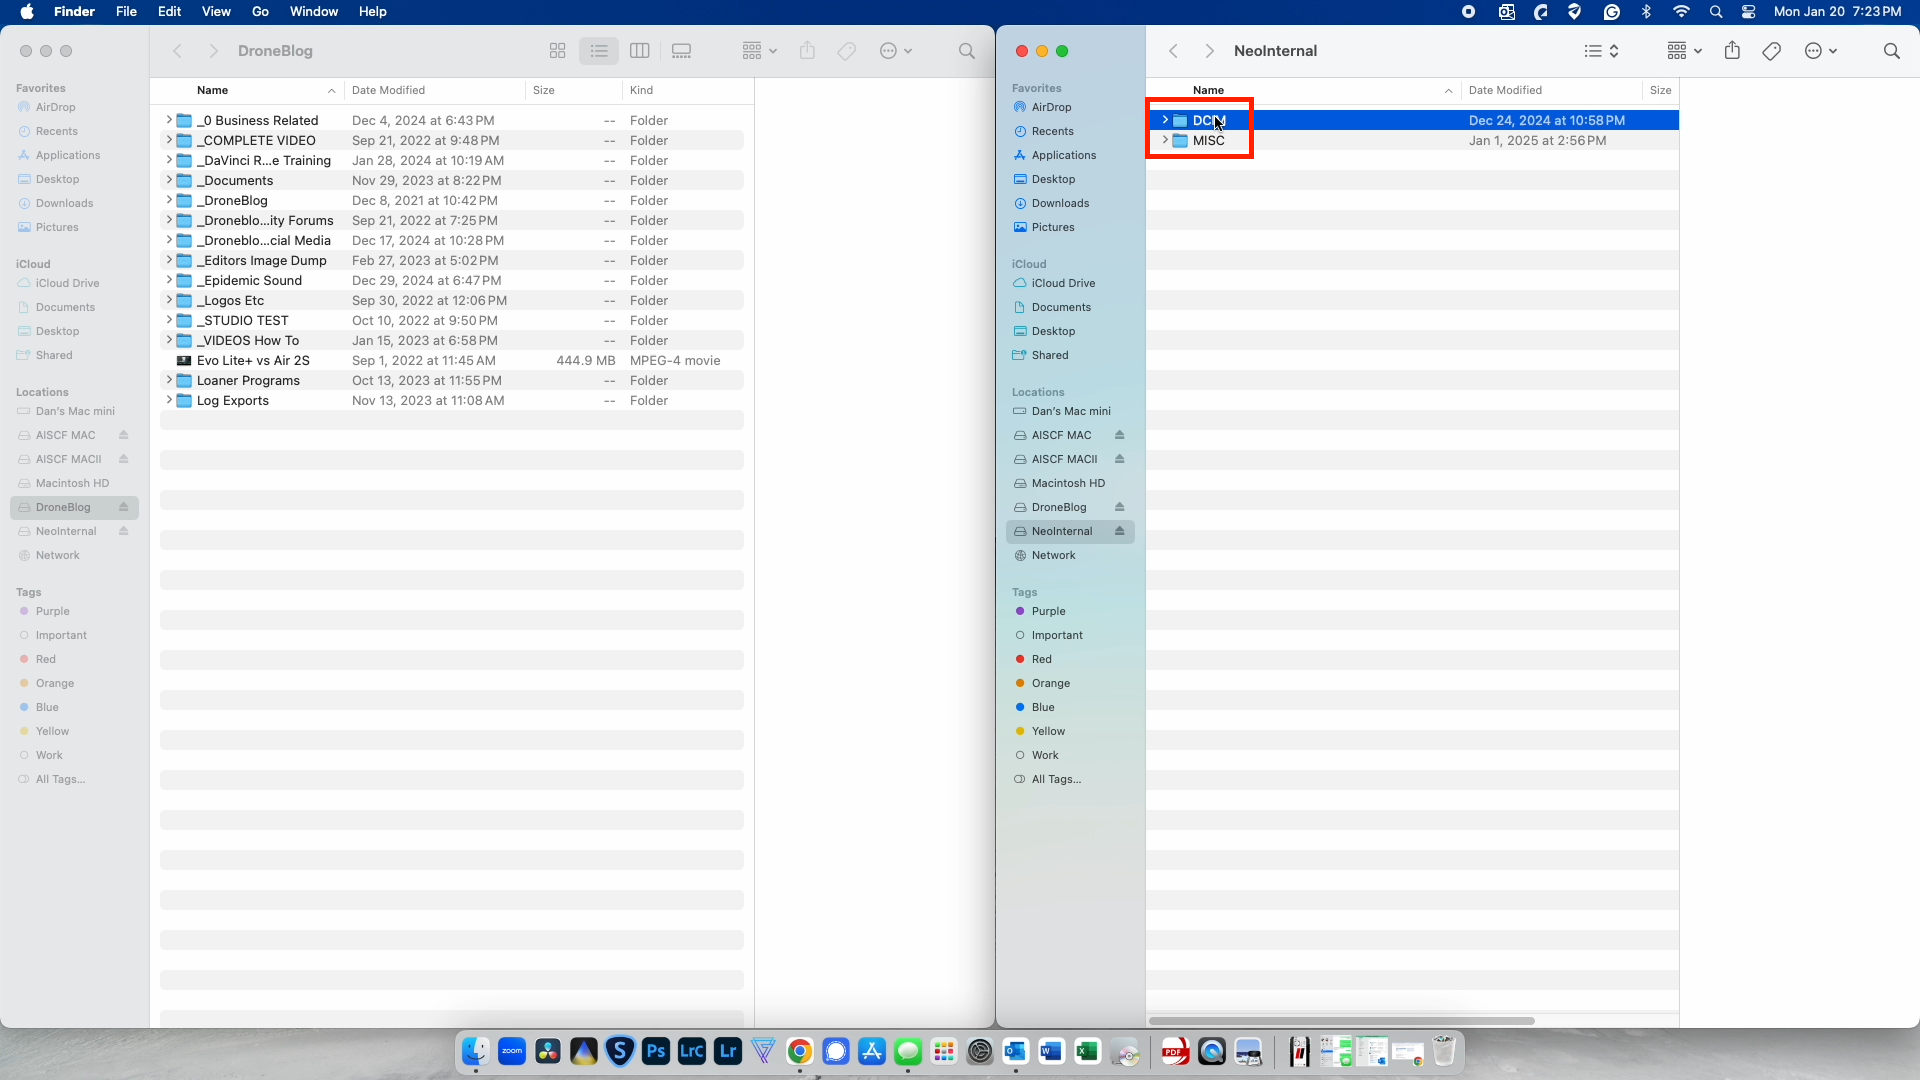
STEP 5: After opening your Document Explorer, you will have to see your Neo interior power at the left-hand facet.

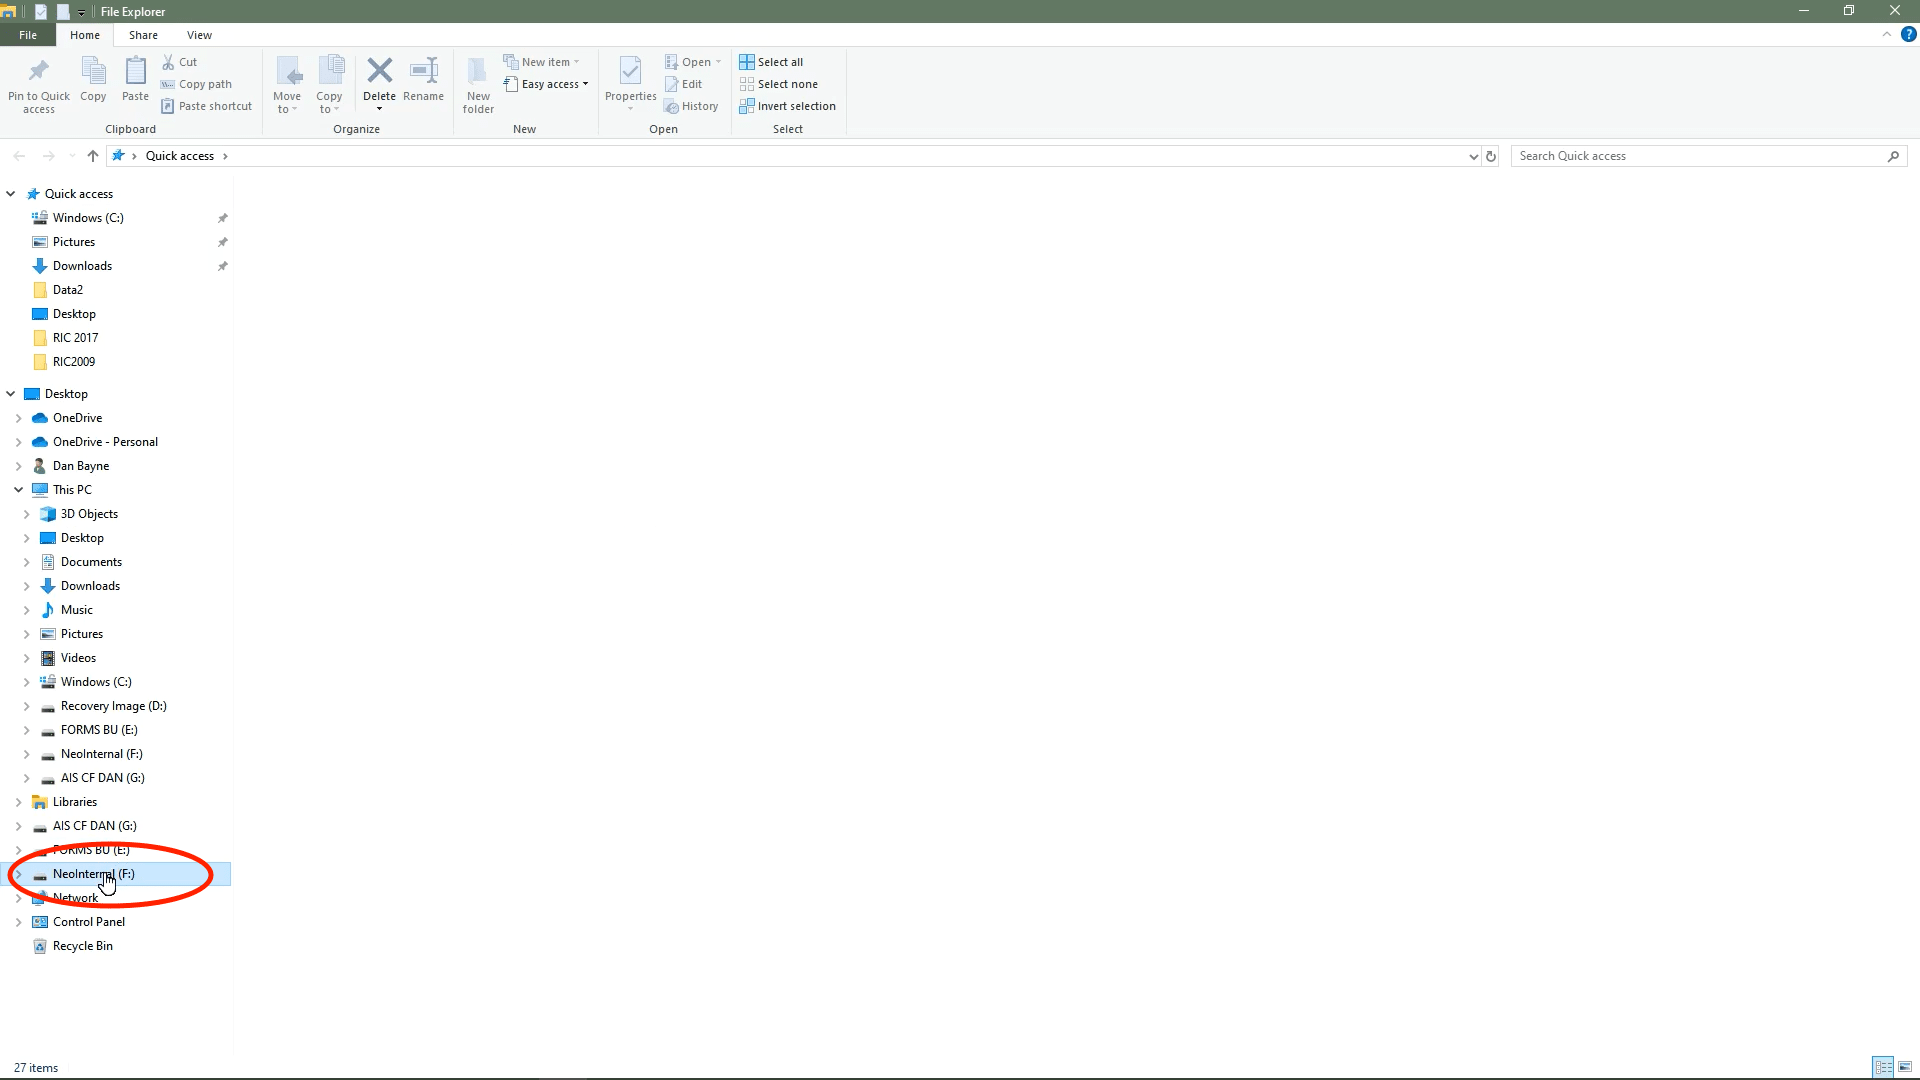
As discussed, I in the past named mine NeoInternal to simply distinguish it from the drives and drones I hook up with my PC incessantly.
STEP 6: You’re going to see its contents after clicking for your Neo Inner Garage.

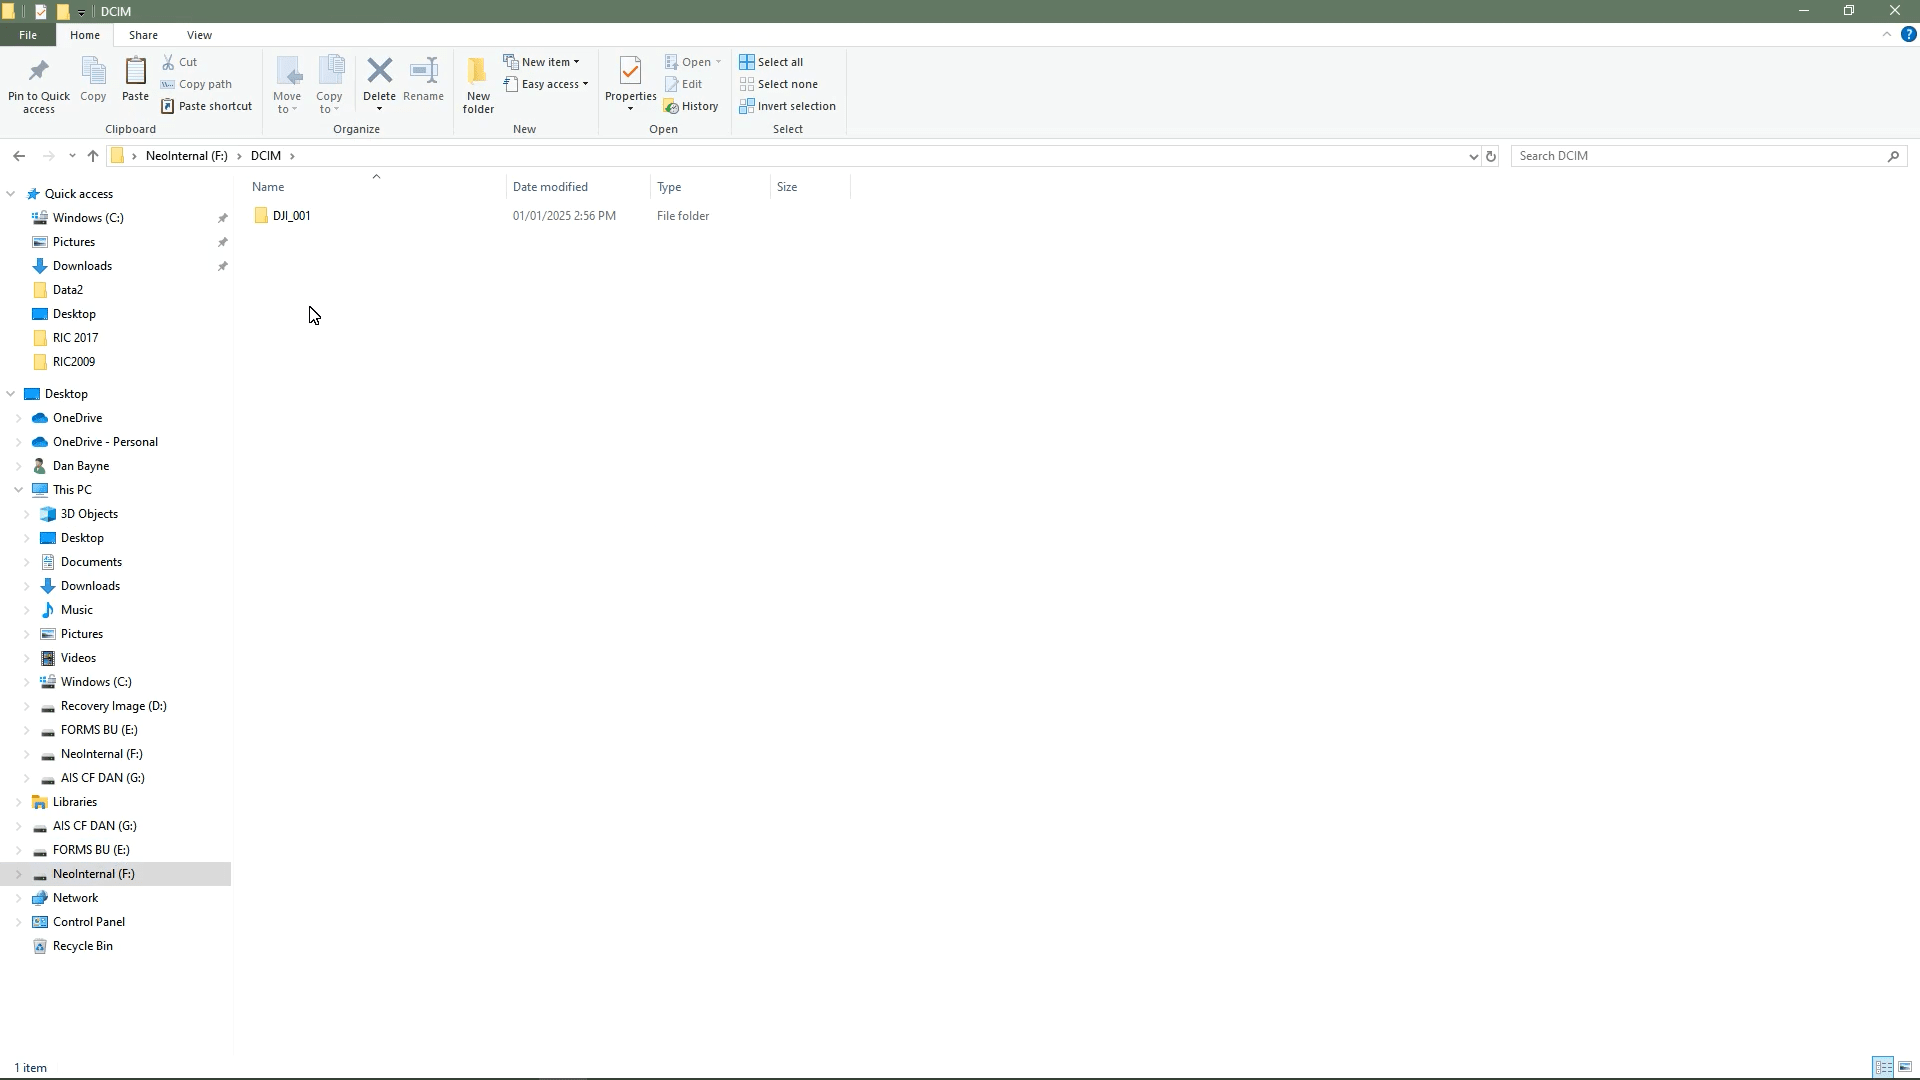
STEP 7: Deciding on the DCIM folder will convey you to the listing the place your media is saved. DJI usual appears to be the DJI_001 listing. Yours could also be other.

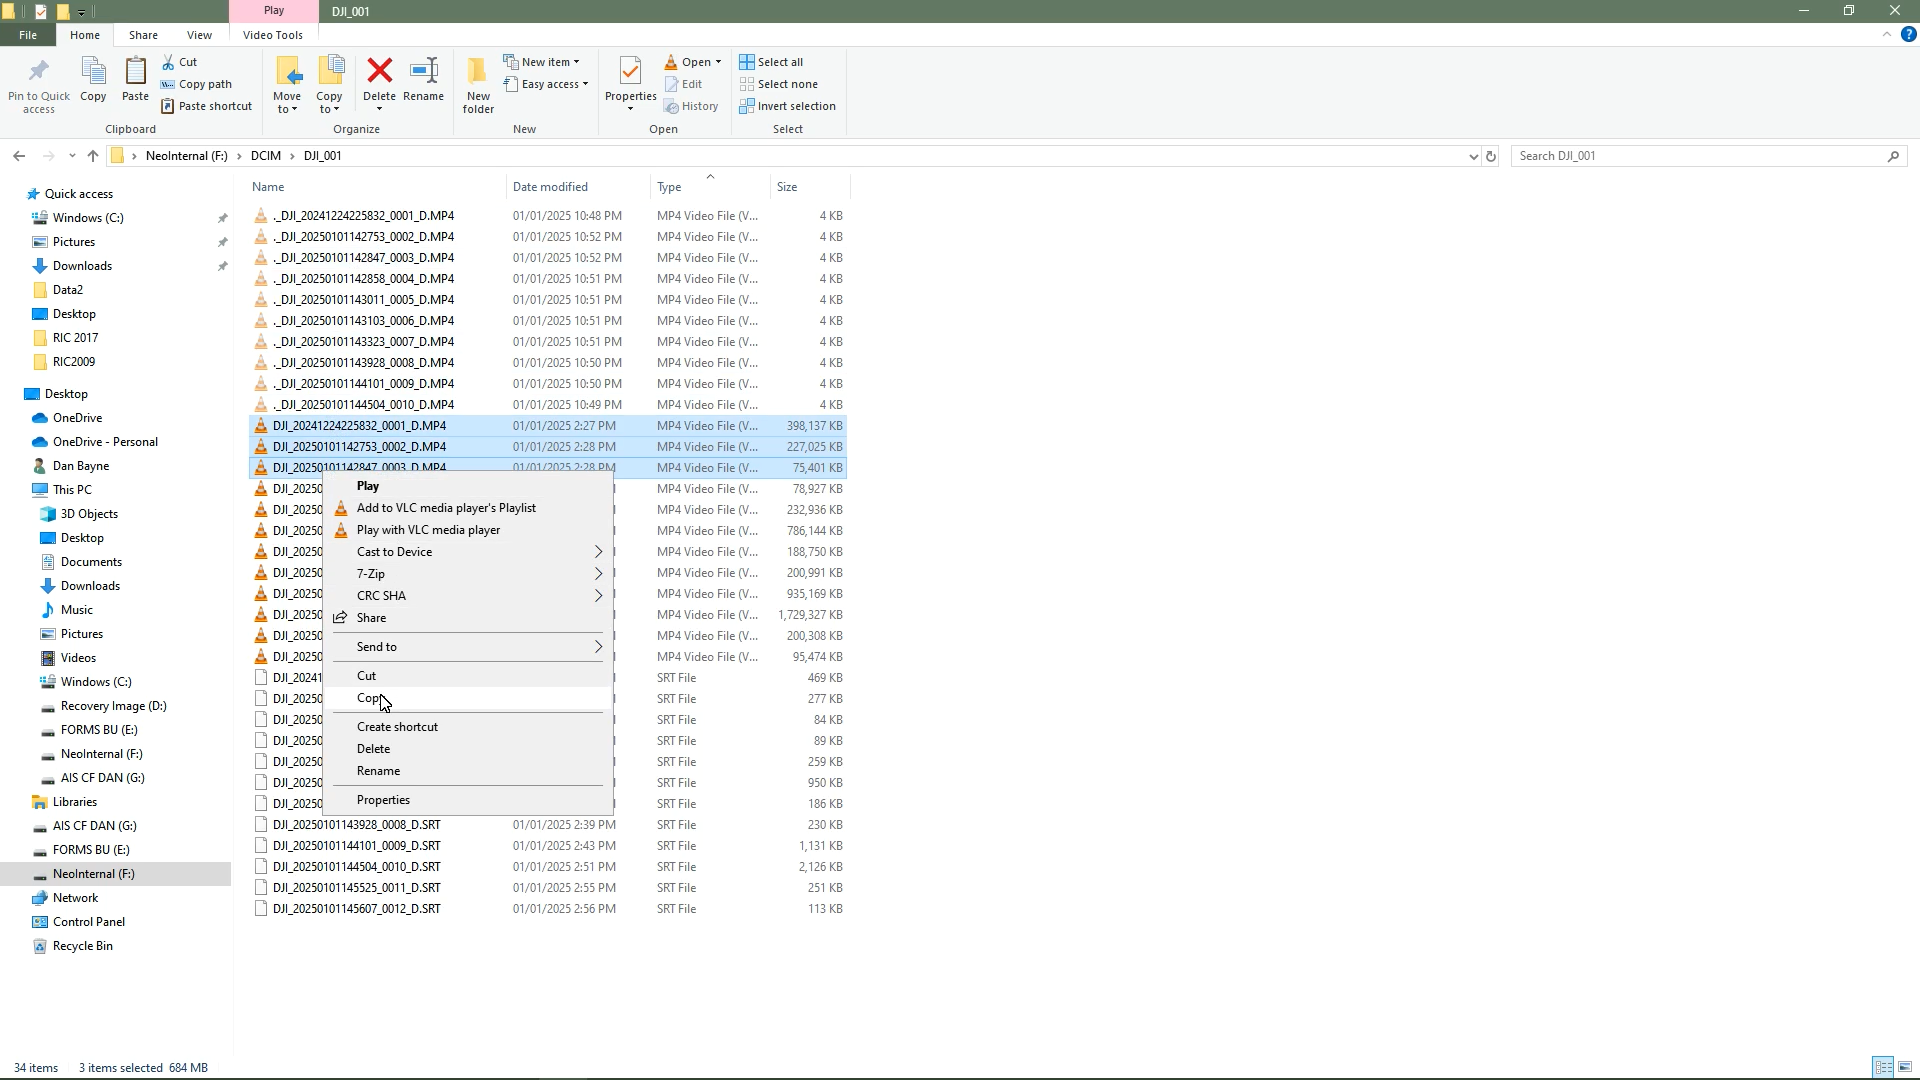
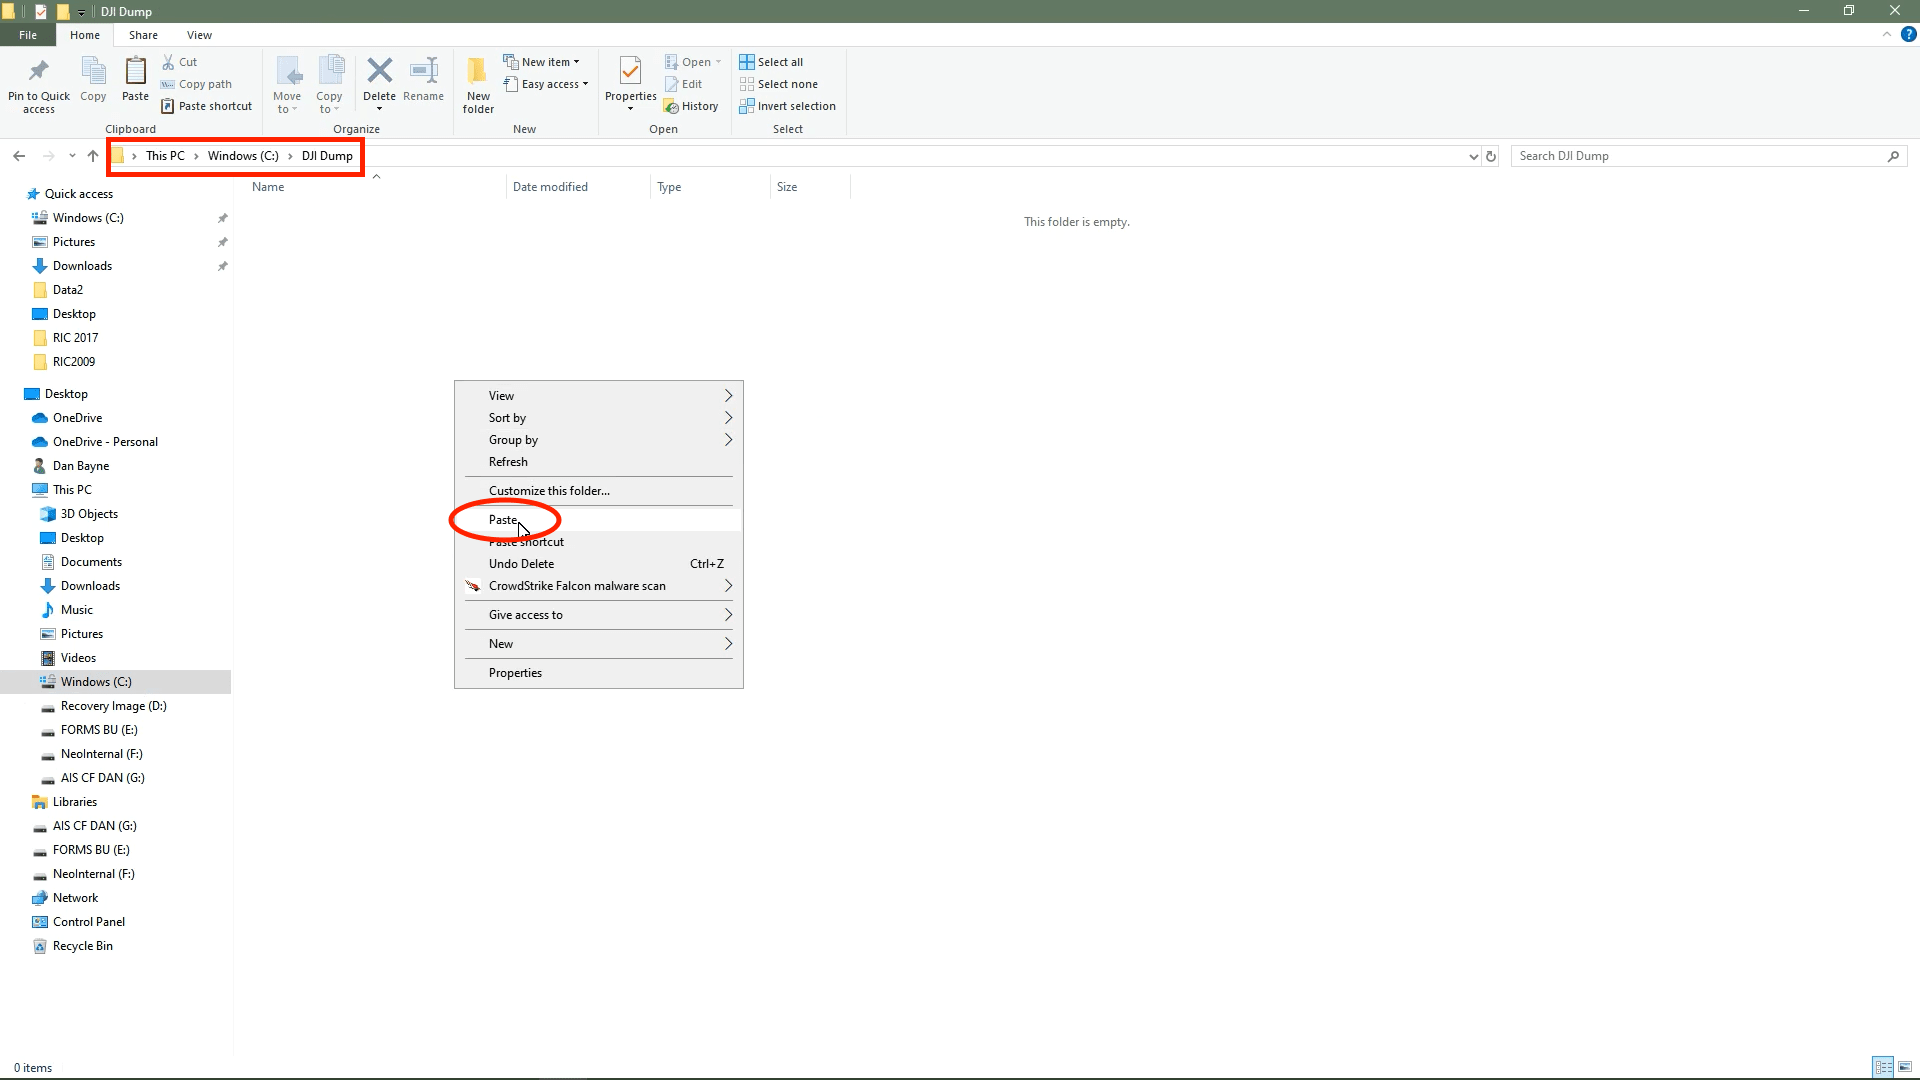
STEP 8: To duplicate the entire information into the listing of your selection for your PC, you’ll be able to right-click the DJI_001 listing and make a choice COPY.


Then again, you’ll be able to click on and make a choice what information you’d like to replicate after which transfer to STEP 9.
STEP 9: To stick the information or listing into your folder/listing of selection, navigate during the Explorer Window, find the listing you’d like to replicate to, open the listing, after which right-click and PASTE into mentioned location.

» MORE: DJI Mavic 3 QuickTransfer – Obtain Information (Step-by-Step Information)
Downloading the use of a Mac

STEP 1: Attach a USB to USB-C cable for your Mac, plugging the USB facet into an empty USB slot for your Mac.
STEP 2: Whilst the Neo is off, plug the USB-C finish into the Neo.
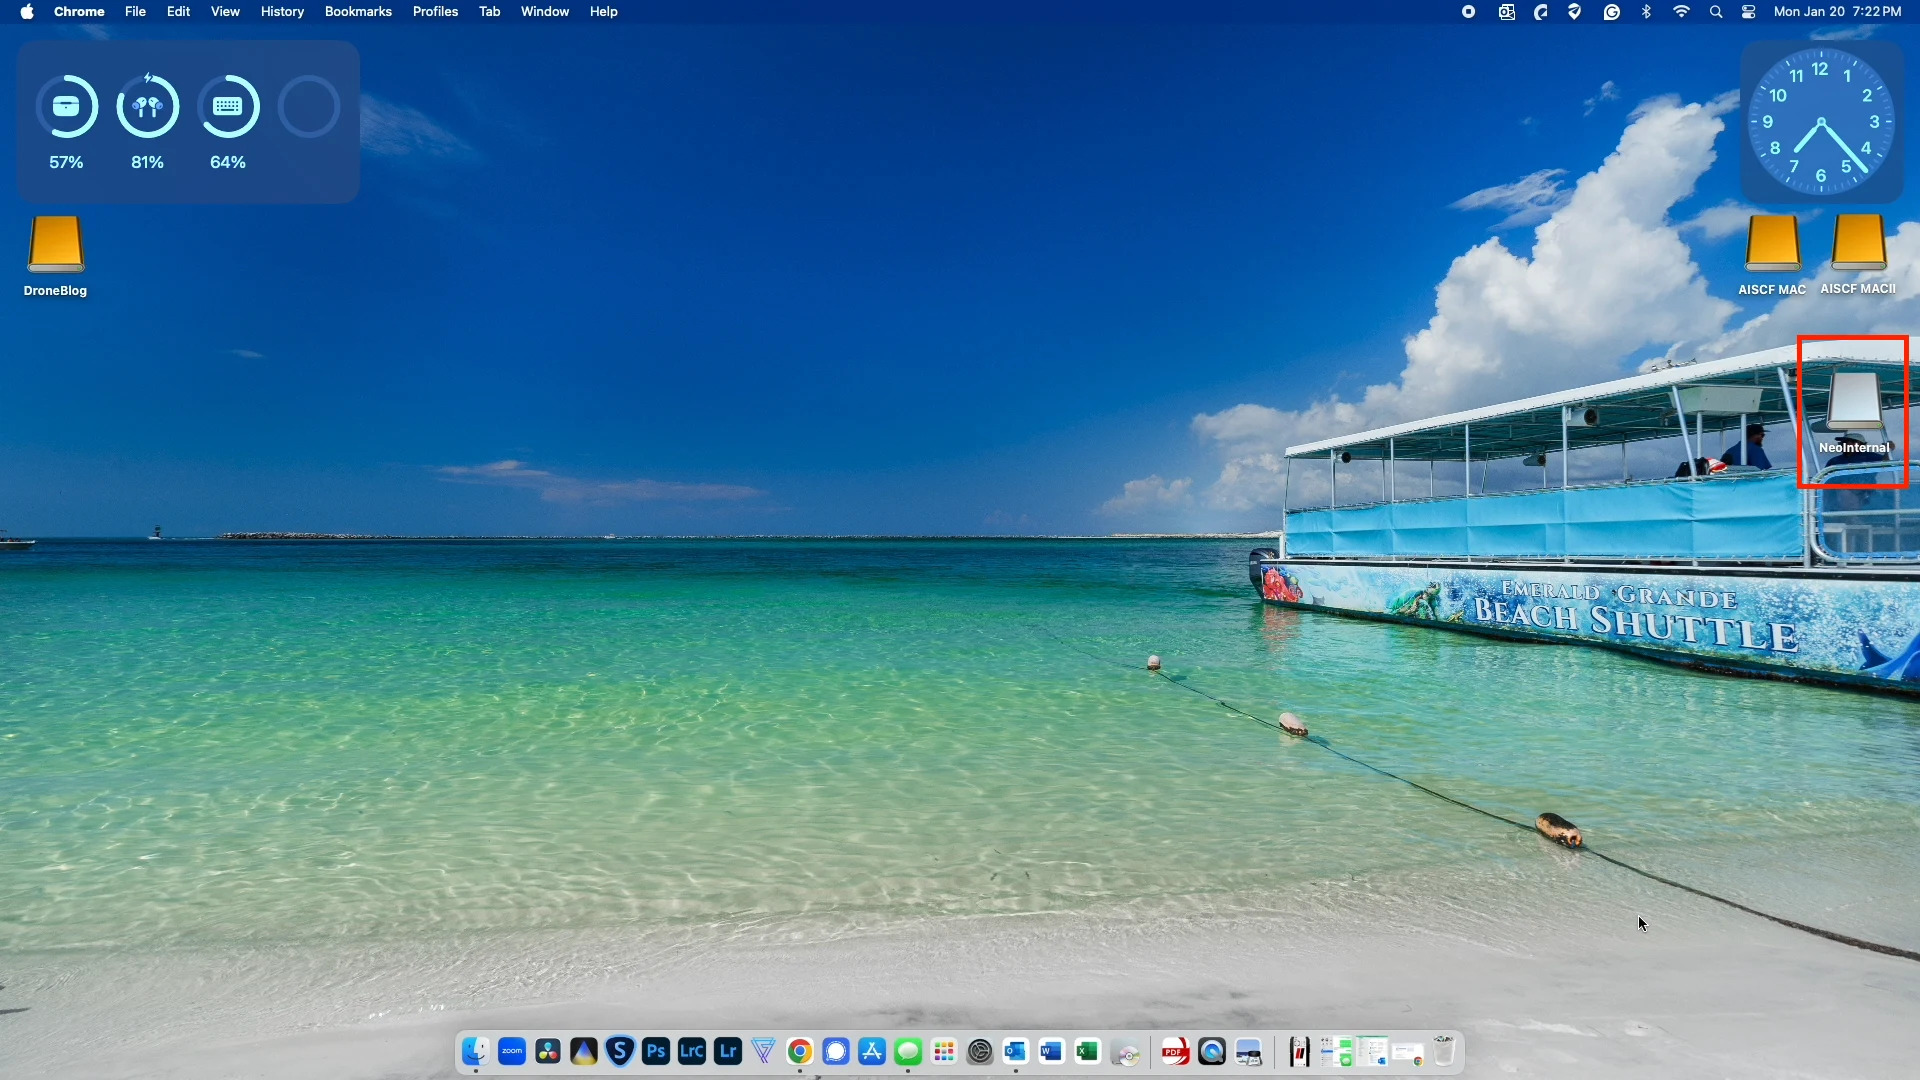
STEP 3: Your Mac will routinely acknowledge the Neo interior garage. Mine is categorized NeoInternal.

Observe: Like DJIs latest line of drones, there is not any want to energy at the Neo, as when it connects to the Mac by way of USB-C, the interior garage is on the market.
STEP 4: Double-click the garage power icon for your Desktop. A Mac Finder window will open, appearing you the contents of the interior garage.
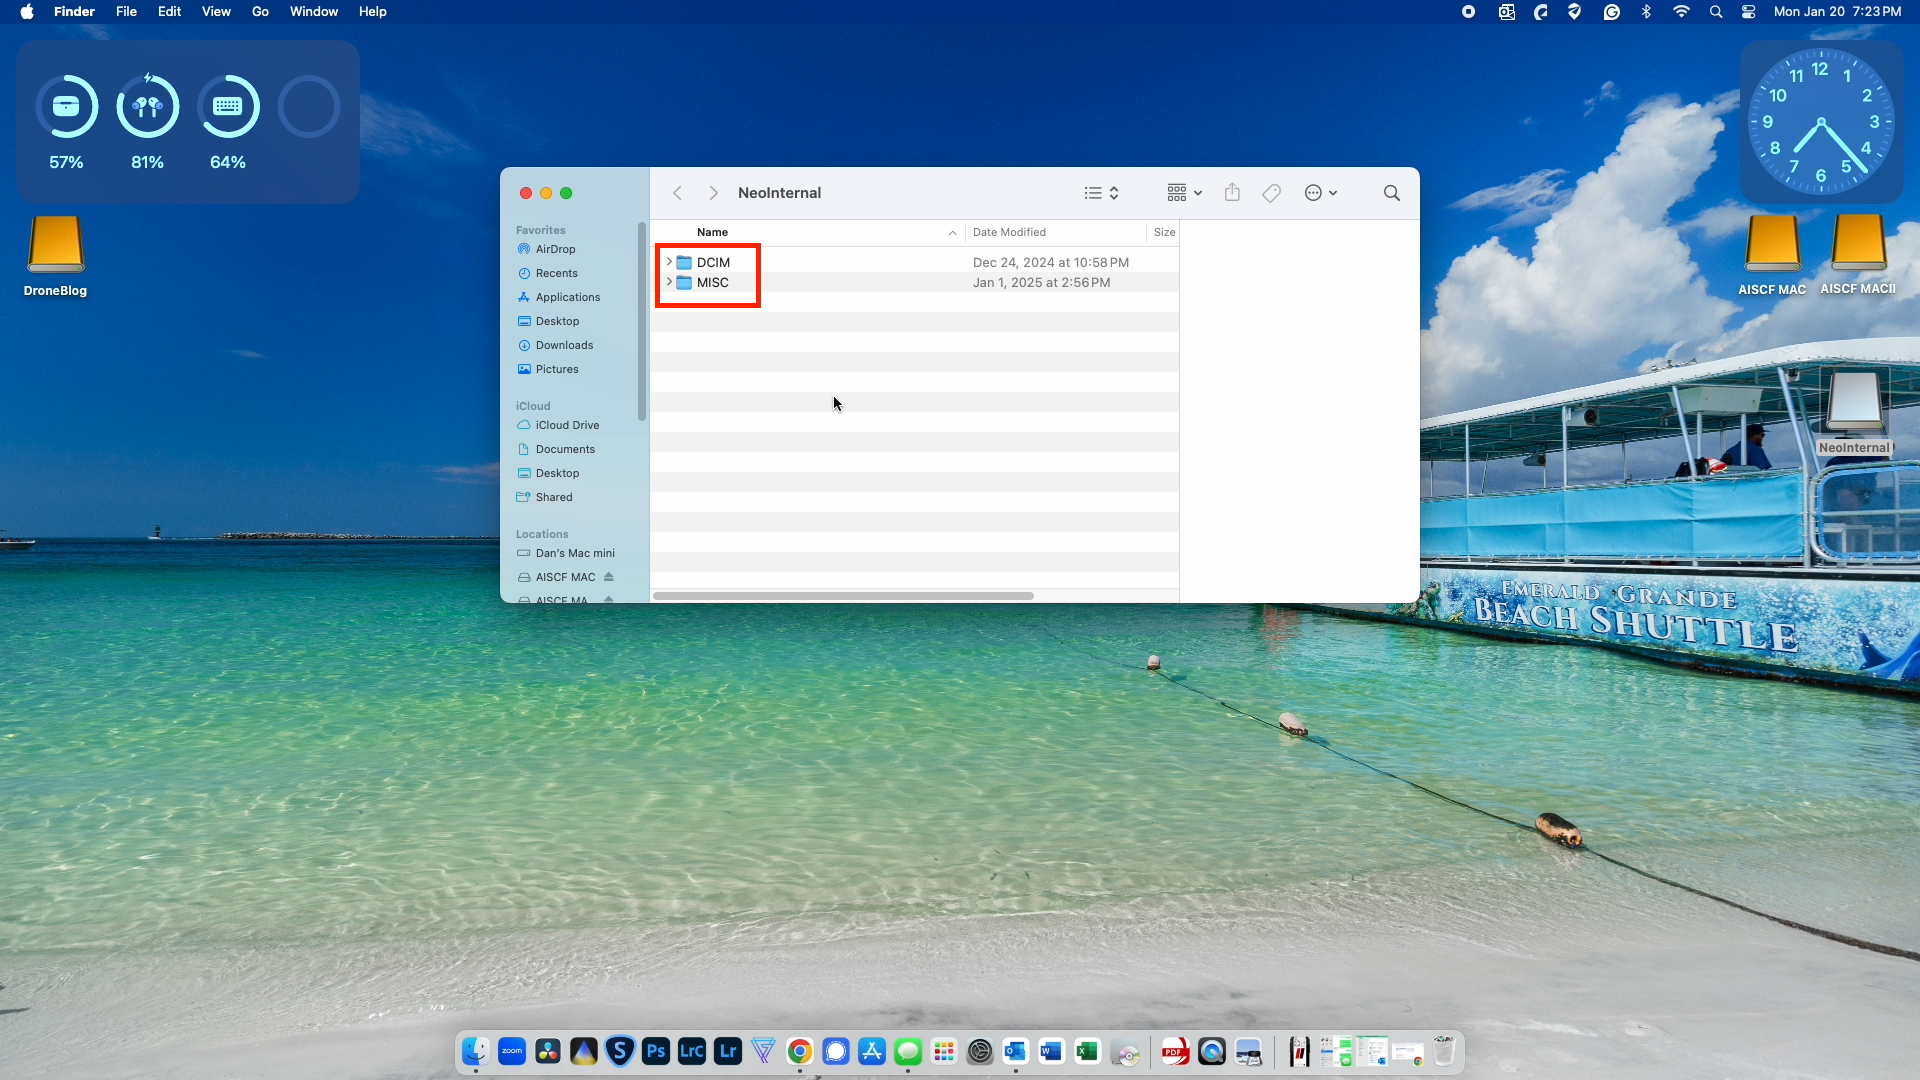

STEP 5: To get entry to your Neo’s footage or movies, double-click the DCIM folder.
STEP 6: Subsequent, double-click the DJI_001 listing (yours could also be other). You’re going to in finding your DNG (RAW), JPEG, and MP4 information.
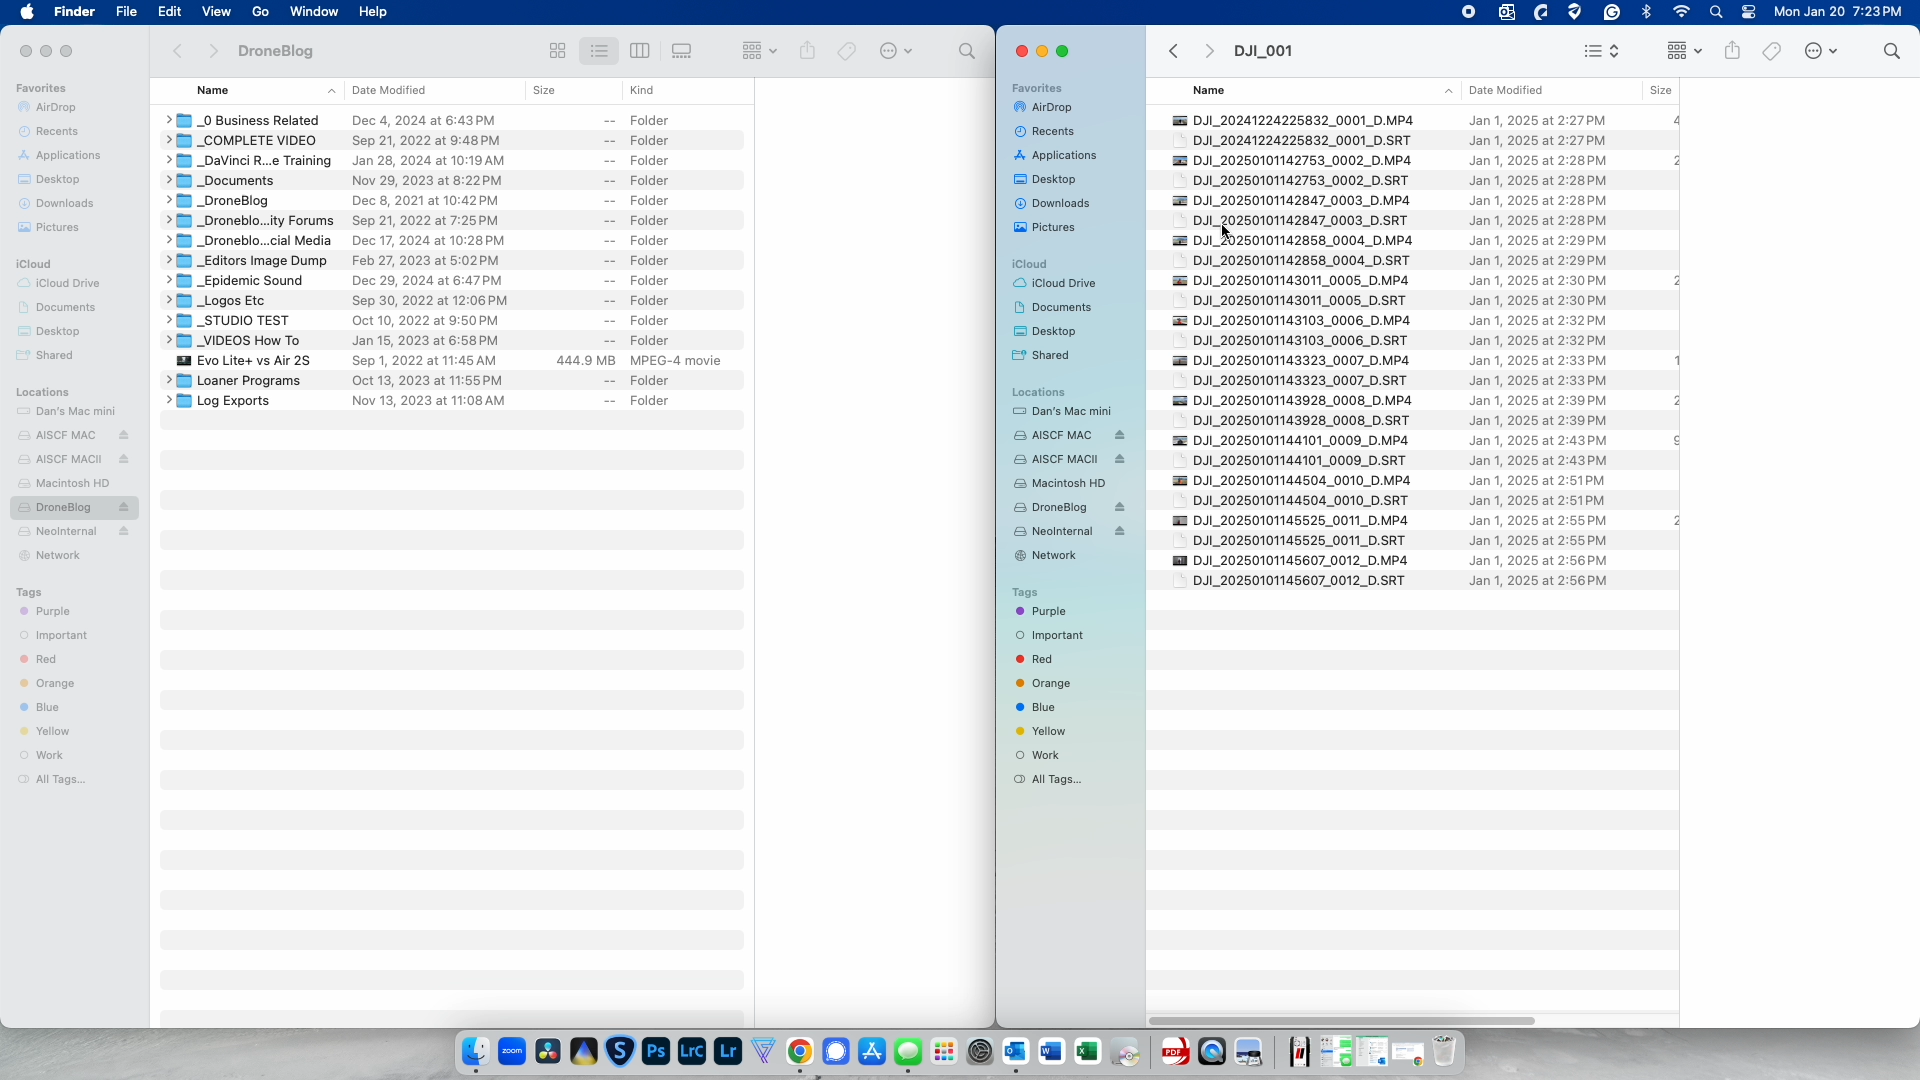
STEP 7: To duplicate the entire information into the listing of your selection for your Mac, you’ll be able to right-click the DJI_001 listing and make a choice COPY.
You’ll additionally pick out and make a choice what information you’d like to replicate.
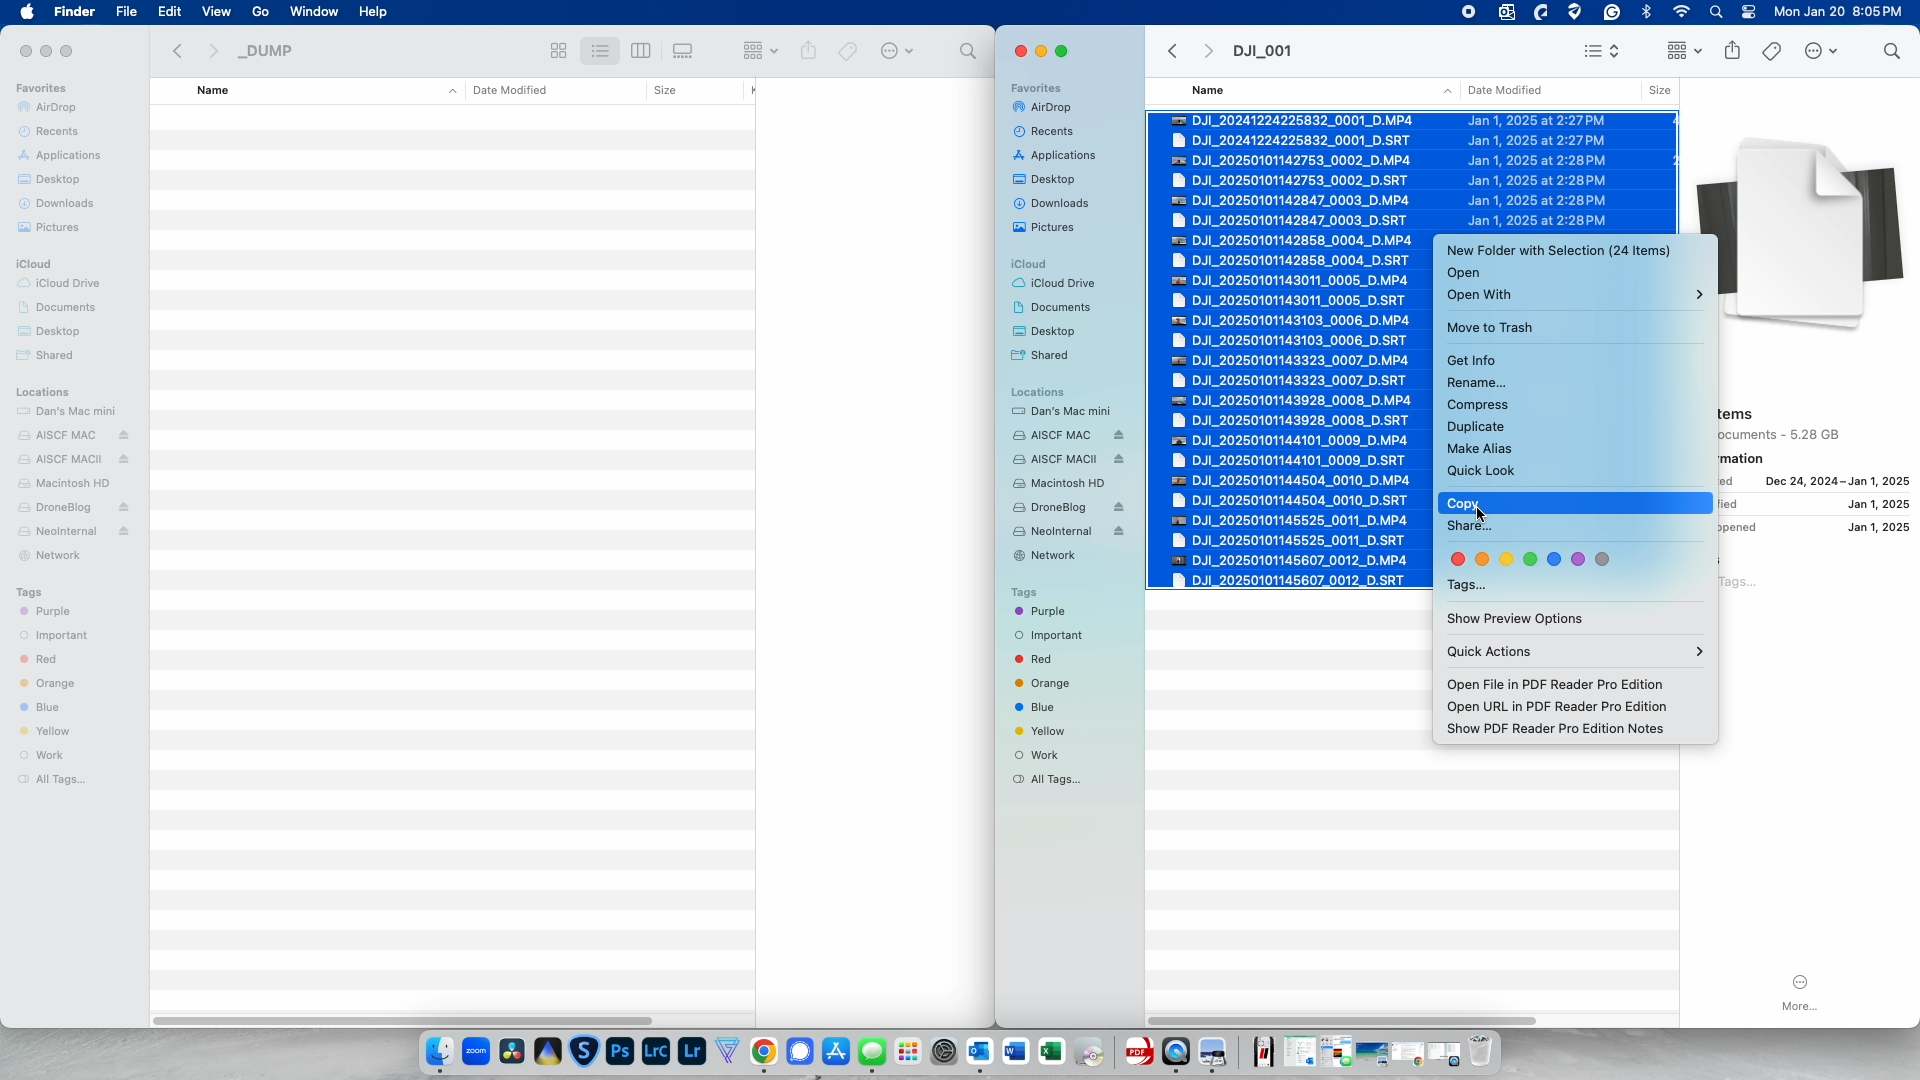
STEP 8: To stick the information or listing into your folder/listing of selection, navigate during the Finder Window, find the listing you’d like to replicate to, open the listing, after which right-click and PASTE into mentioned location.

» MORE: Structure SD Playing cards in DJI Drones (Fast Steps with Pictures)
Downloading the use of the DJI RC-N3 or RC-N2
For those who bought the DJI Neo RC-N3 Combo or are the use of a in the past bought DJI RC-N2, you’ll be able to replica information immediately for your sensible tool whilst hooked up to the DJI Fly app.
We discussed the DJI RC-N3 or RC-N2 because the controller you’ll be able to use to replicate Neo information. On the other hand, pictures and movies can’t recently be copied from the Neo to the DJI RC 2 far off controller.
The information from the DJI Neo are copied immediately for your Android or iOS smartphone or tool during the DJI Fly app.
To obtain information immediately for your Android or iOS smartphone or tool whilst within the DJI Fly app:
STEP 1: Whilst hooked up to the powered-on Neo and DJI RC-N3 or RC-N2, again out to the principle DJI Fly display.
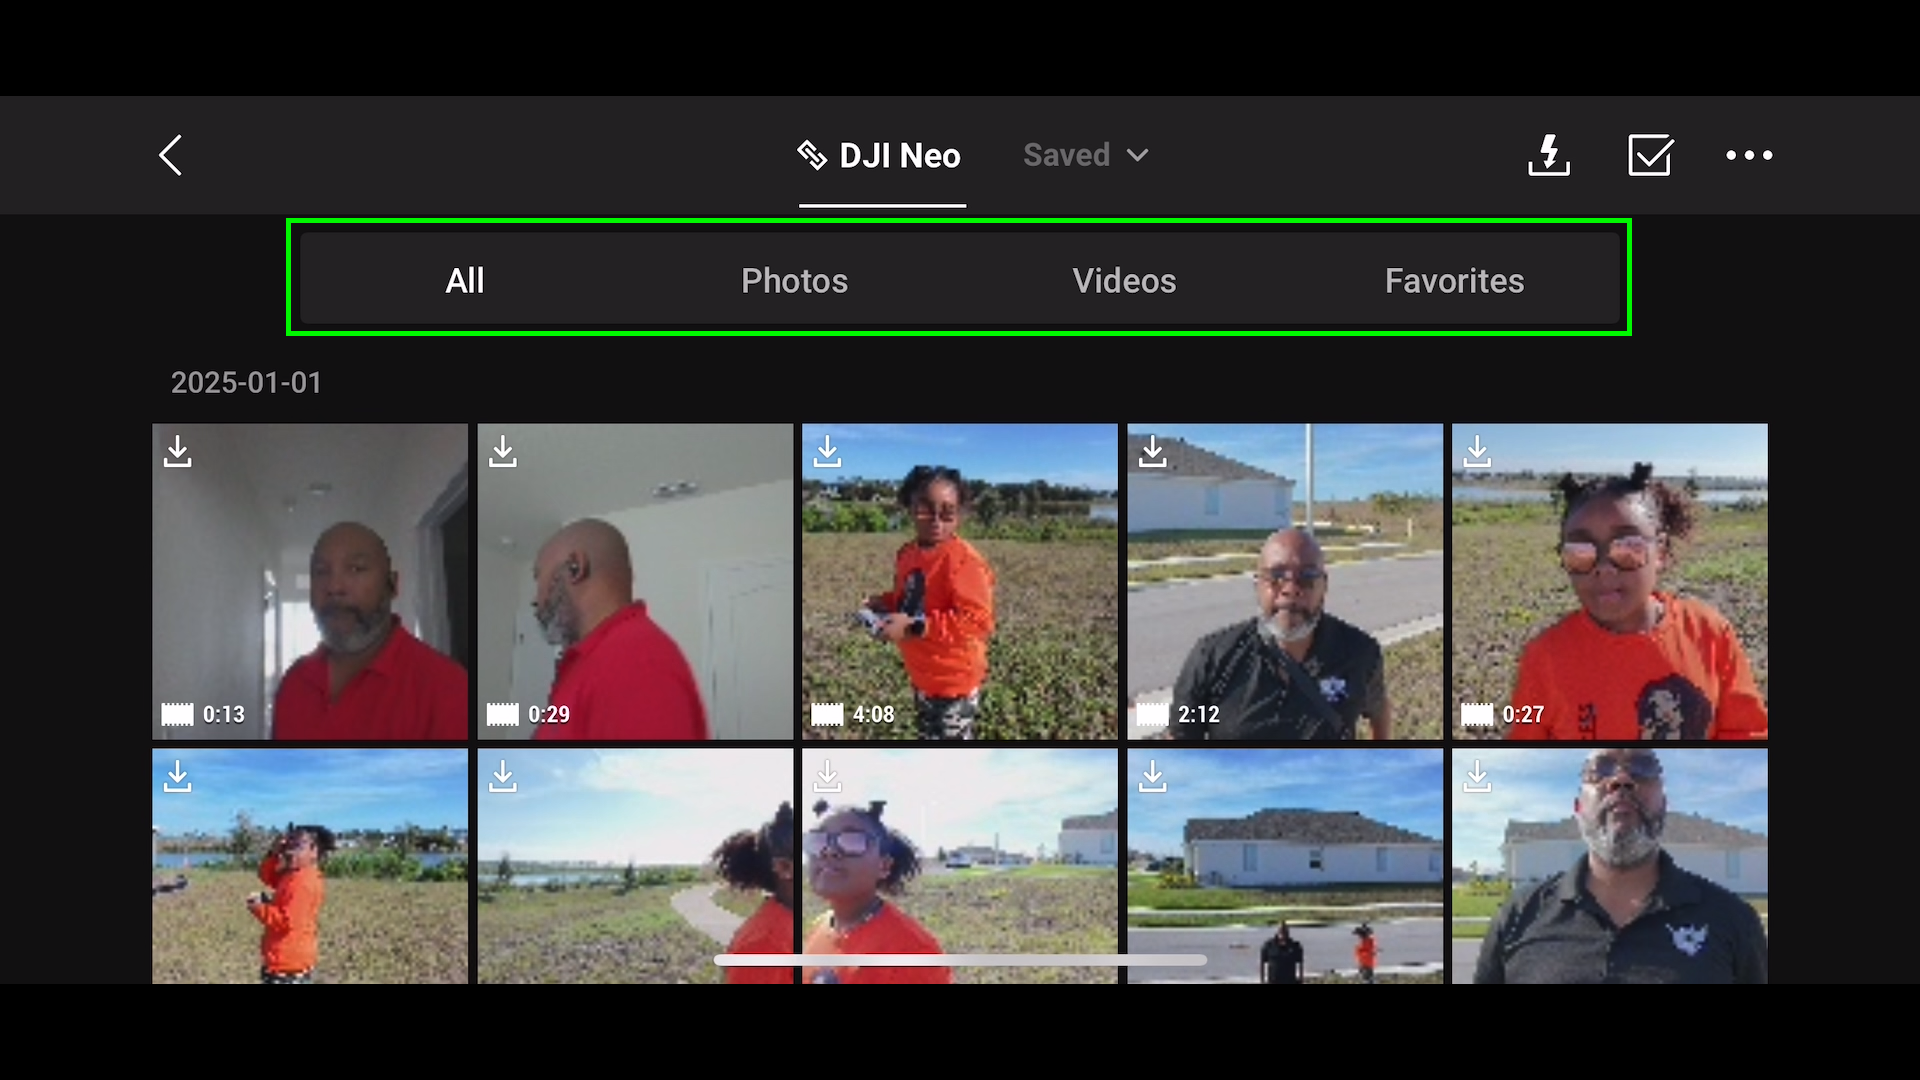
STEP 2: Choose Album
You’ll then make a choice to view Pictures, Movies, or all content material.
STEP 3: Press the checkmark within the higher right-hand nook to go into batch choose mode, the place you’ll be able to both in my opinion choose information to obtain or batch choose a couple of information.
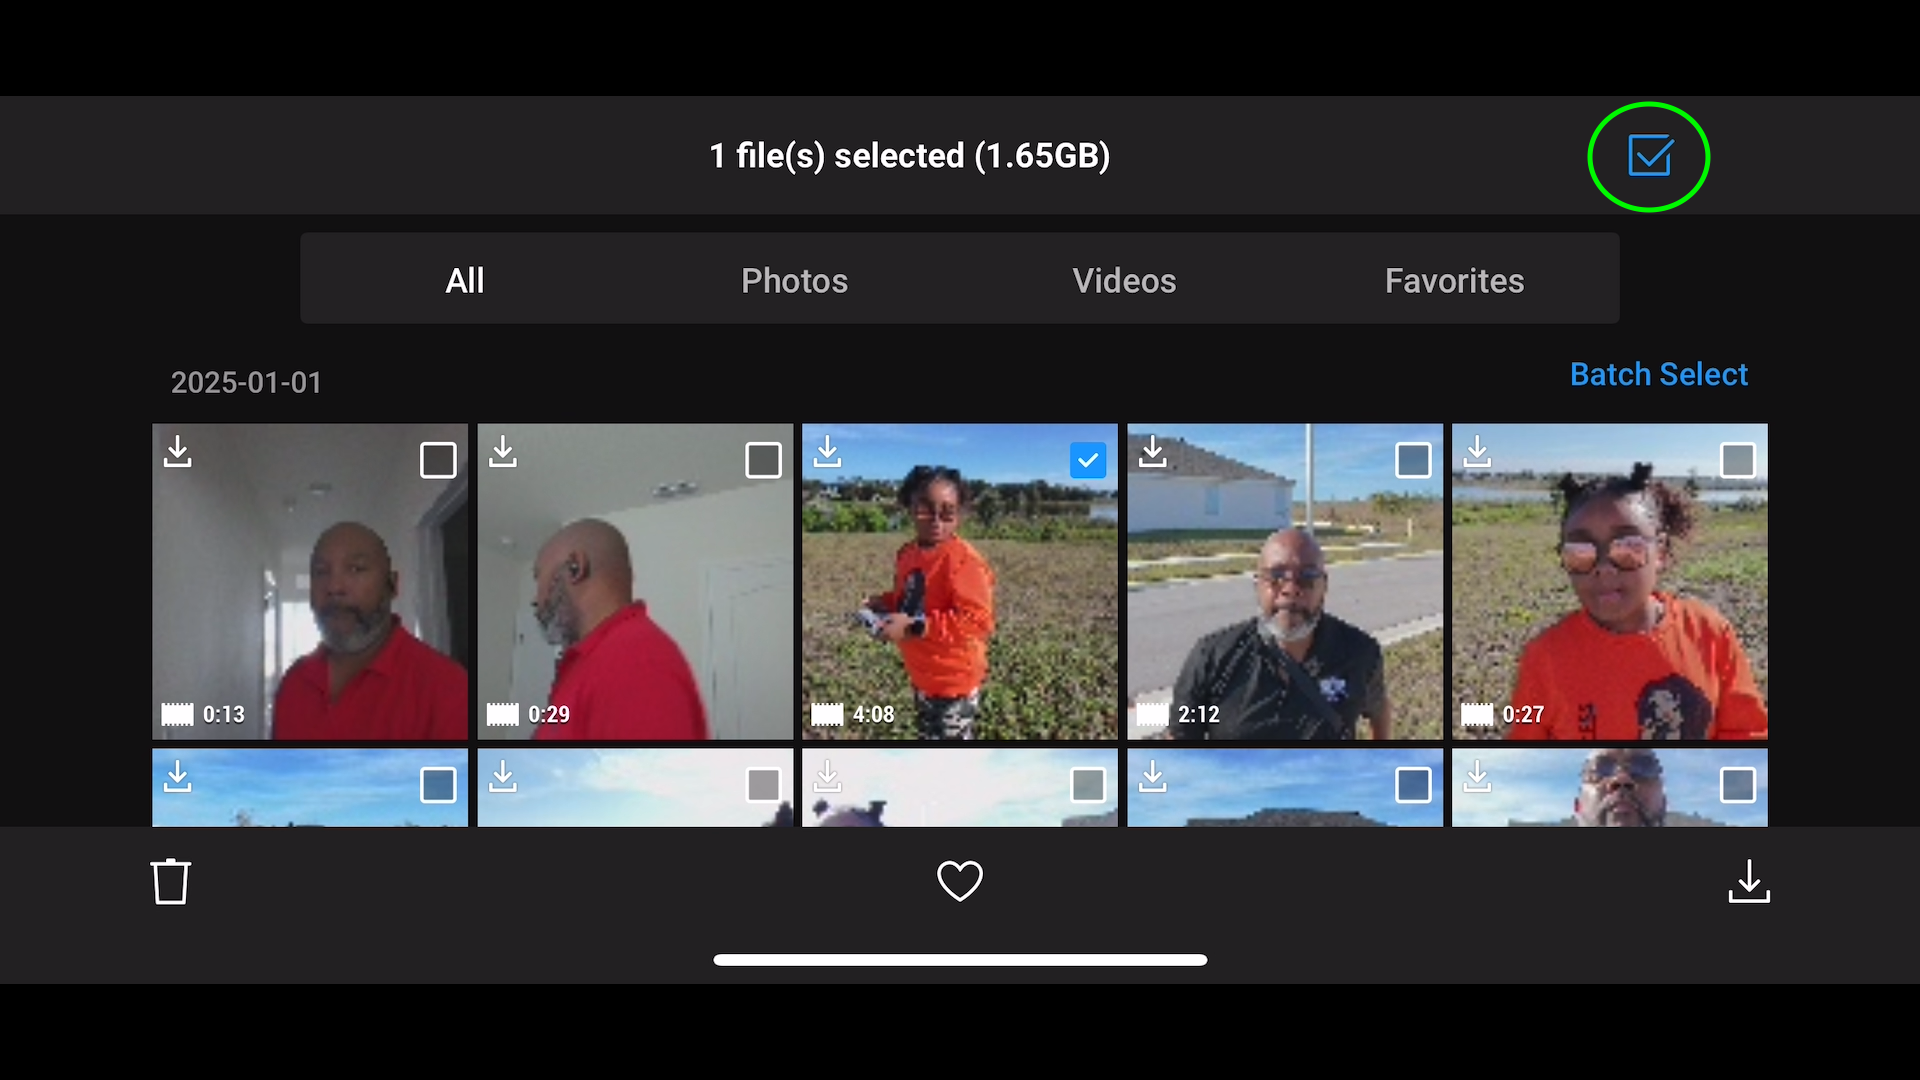
STEP 4: Choose the information wanted, then press the obtain button at the backside right-hand nook.
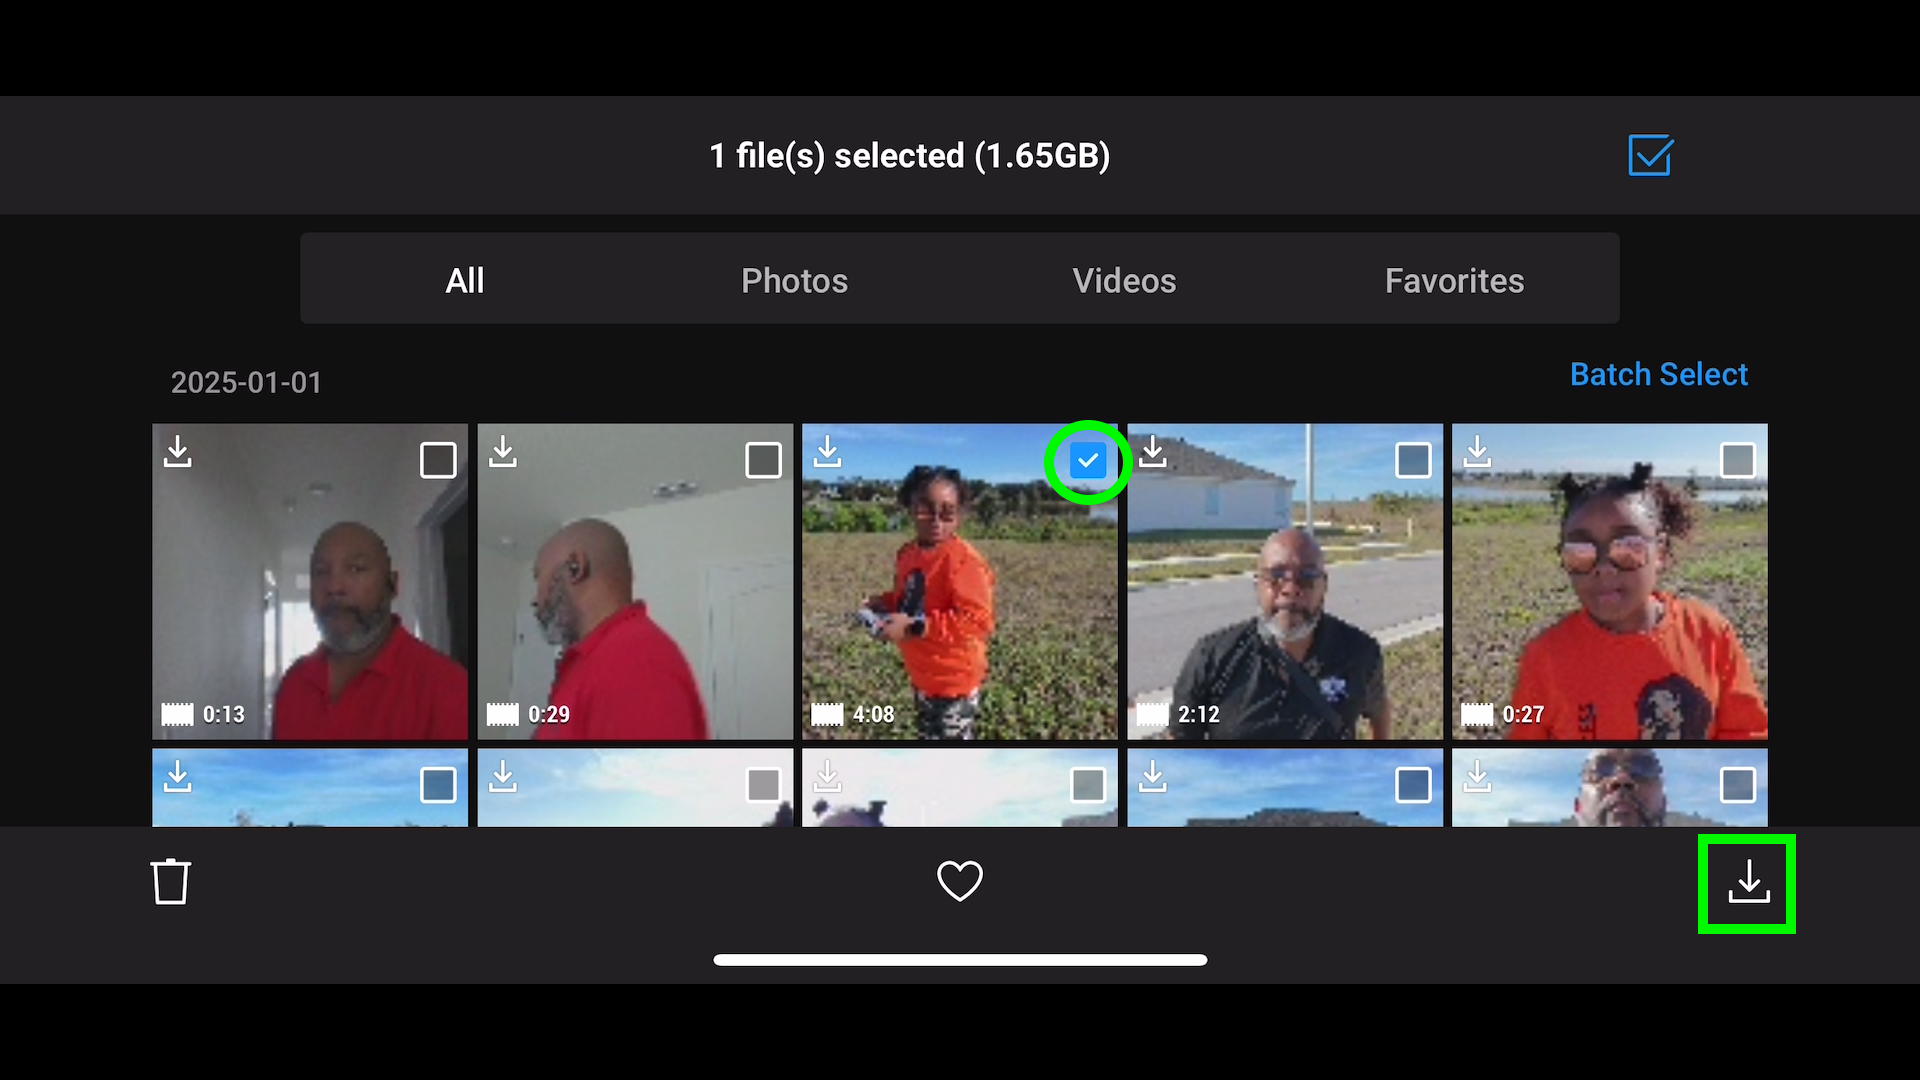
You’ll see a development bar and indicator letting you realize the document(s) are downloading.
You’ll then get entry to those information from inside your telephone or pill editor or photo-browsing app of your selection.
» MORE: Obtain DJI Video to iPhone (Step-by-Step Information)
The use of Fast Switch
The fast switch function permits you to wirelessly export content material out of your DJI Neo interior garage to an Android or iOS (Apple) smartphone or tool, all with no need to energy at the far off controller.
That is perfect for individuals who wish to temporarily edit their pictures or movies and instantly percentage them with circle of relatives, buddies, or on social media.
The pieces wanted for the QuickTransfer function:
- DJI Neo (far off controller now not required)
- Your sensible tool/telephone
- DJI Fly loaded at the sensible tool
Observe: If the use of a DJI RC2, recently you can not use the QuickTransfer function to export pictures and movies to the far off controller. The RC doesn’t have modifying purposes, so shifting content material isn’t supported. Enhancing must be performed on an Android or iOS sensible tool
To make use of the QuickTransfer function:
Step 1: Take away the gimbal guard and gear at the Neo.
Step 2: Open the DJI Fly app
At the left of the House Display screen, you are going to see DJI-NEO-XXXX detected; CONNECT. Faucet the Attach field.
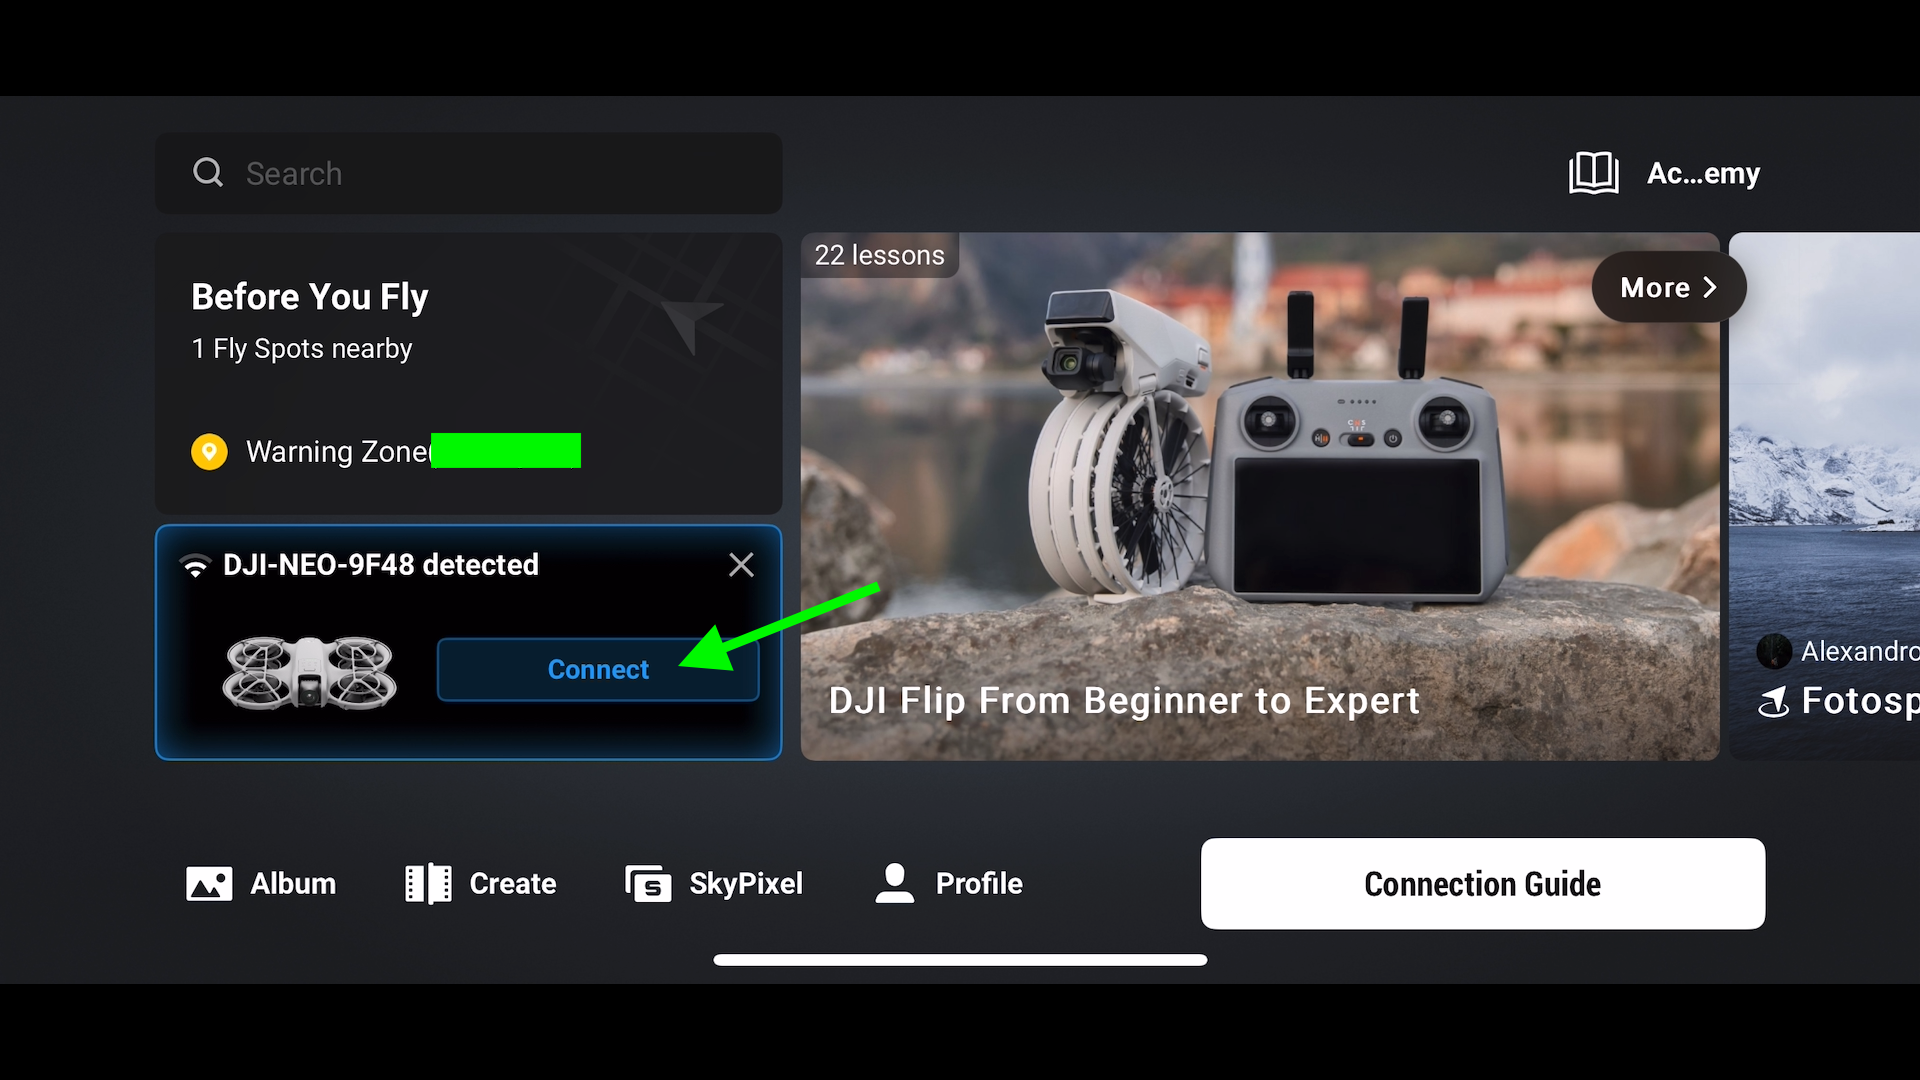
Step 3: After urgent Attach, DJI Fly will ask to hook up with the Neo community. Press Sign up for.
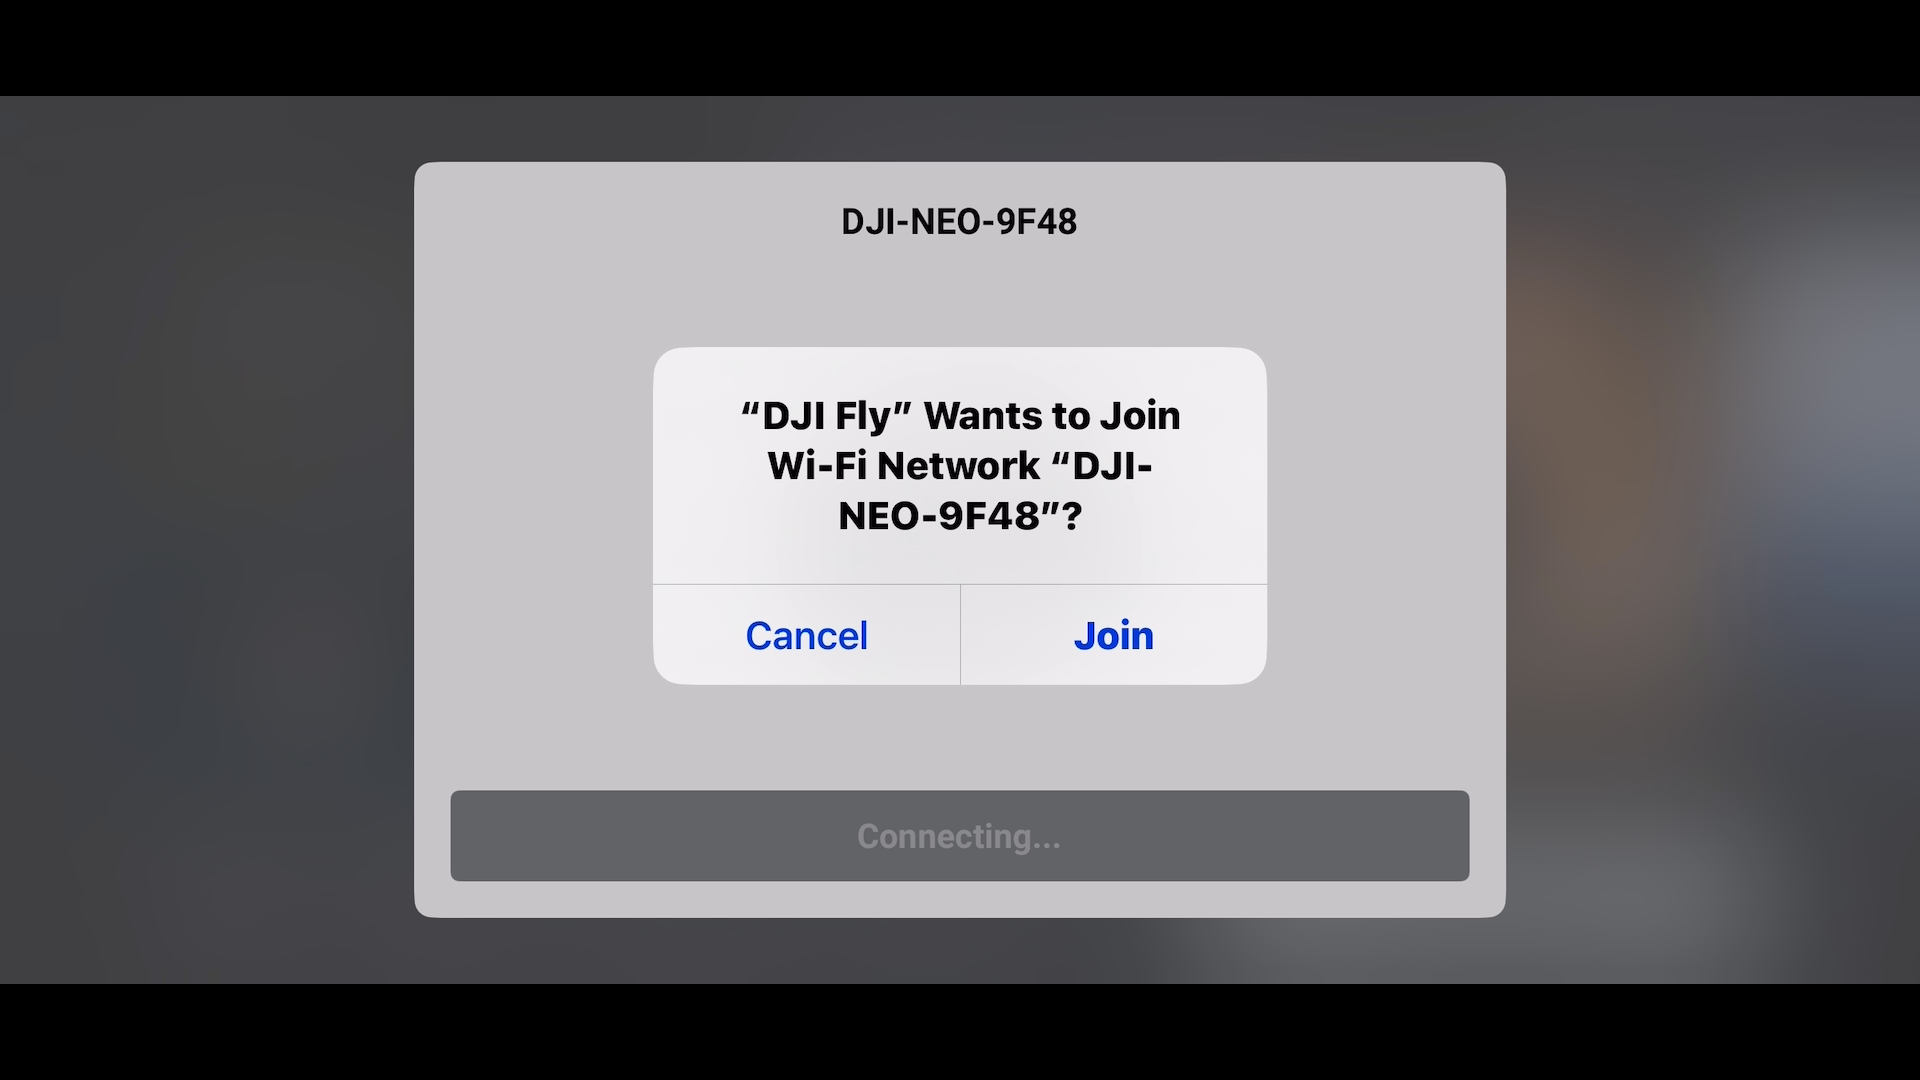
The Neo will then attach. You’re going to then be delivered to the DJI Neo House Display screen.

Observe: When you’ve got by no means hooked up your Neo to do a Fast Switch, you are going to be given detailed directions on how you can attach the Neo.
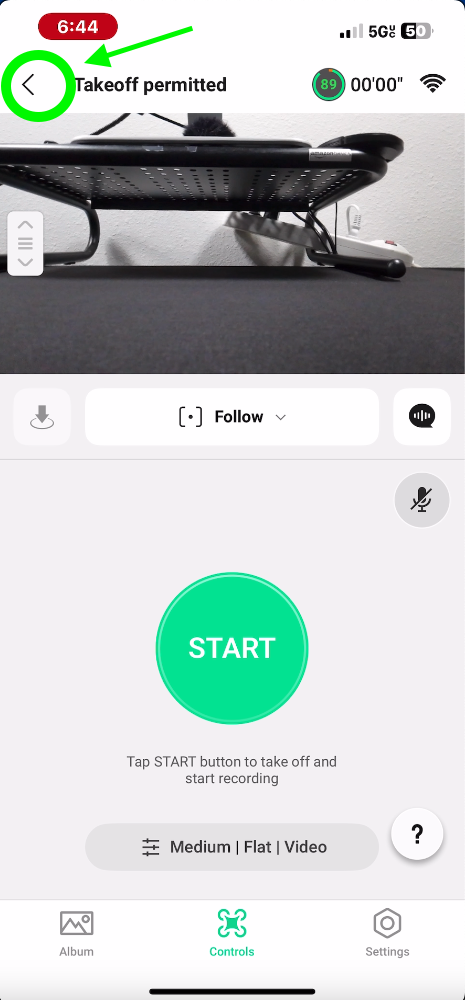
Step 4: Press the again button on the best of the Neo House Display screen to get again to the DJI Fly House Display screen.
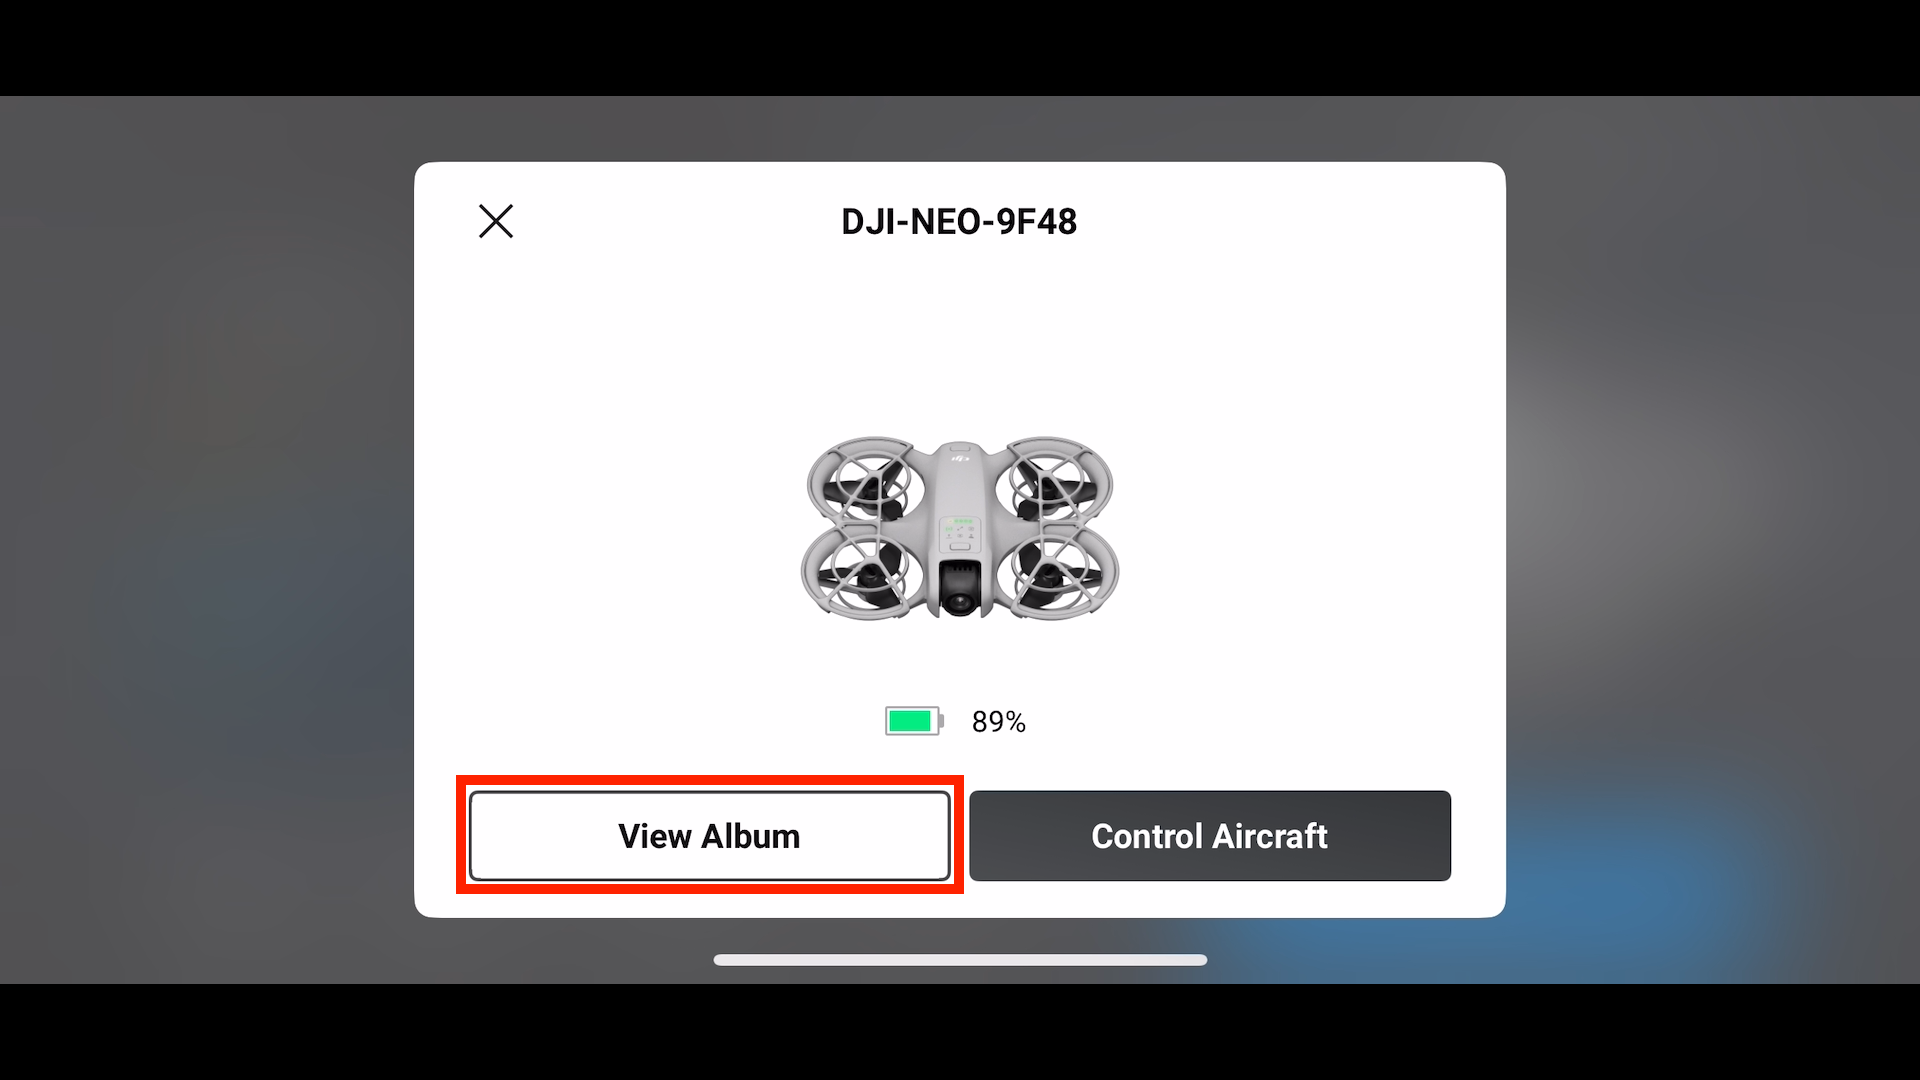
Step 5: As soon as within the DJI Fly House Display screen press WiFI Units – Neo Attached. This offers you the strategy to View the Neo Album or Regulate the Neo.
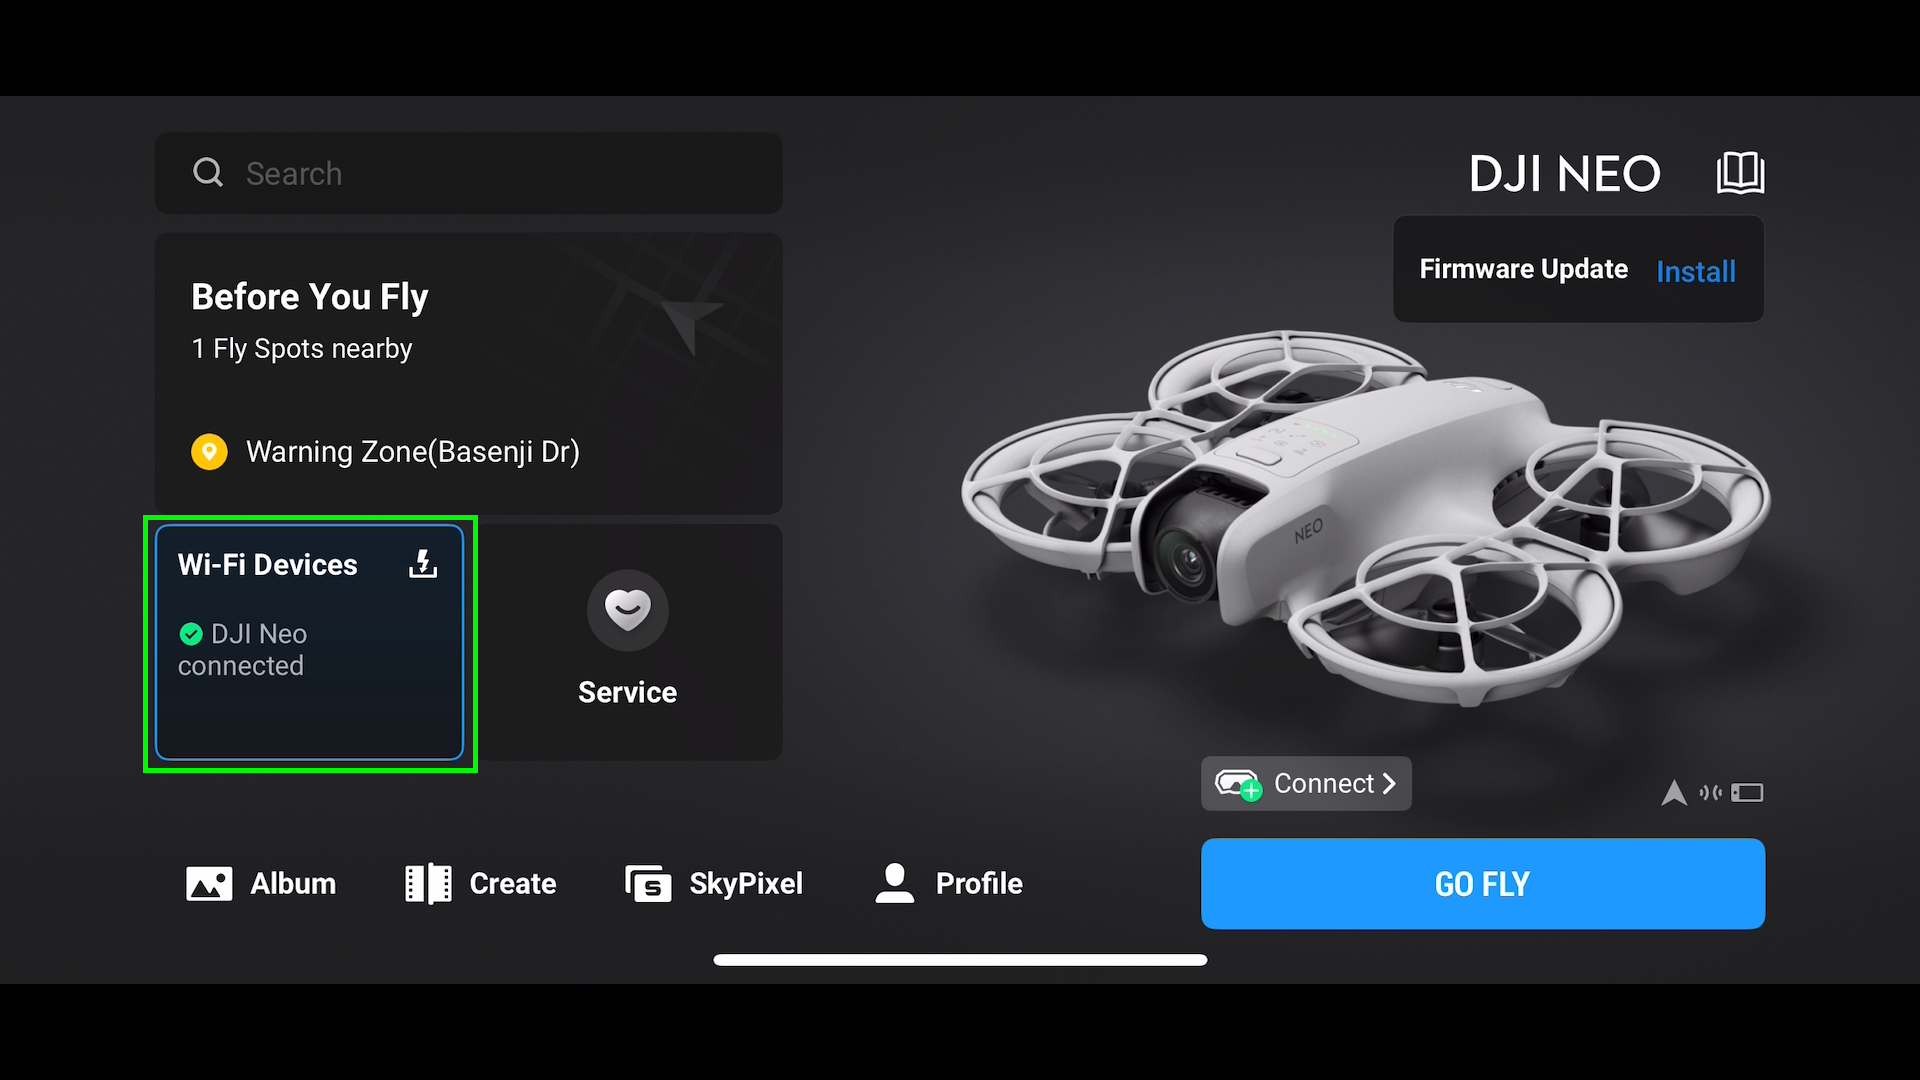
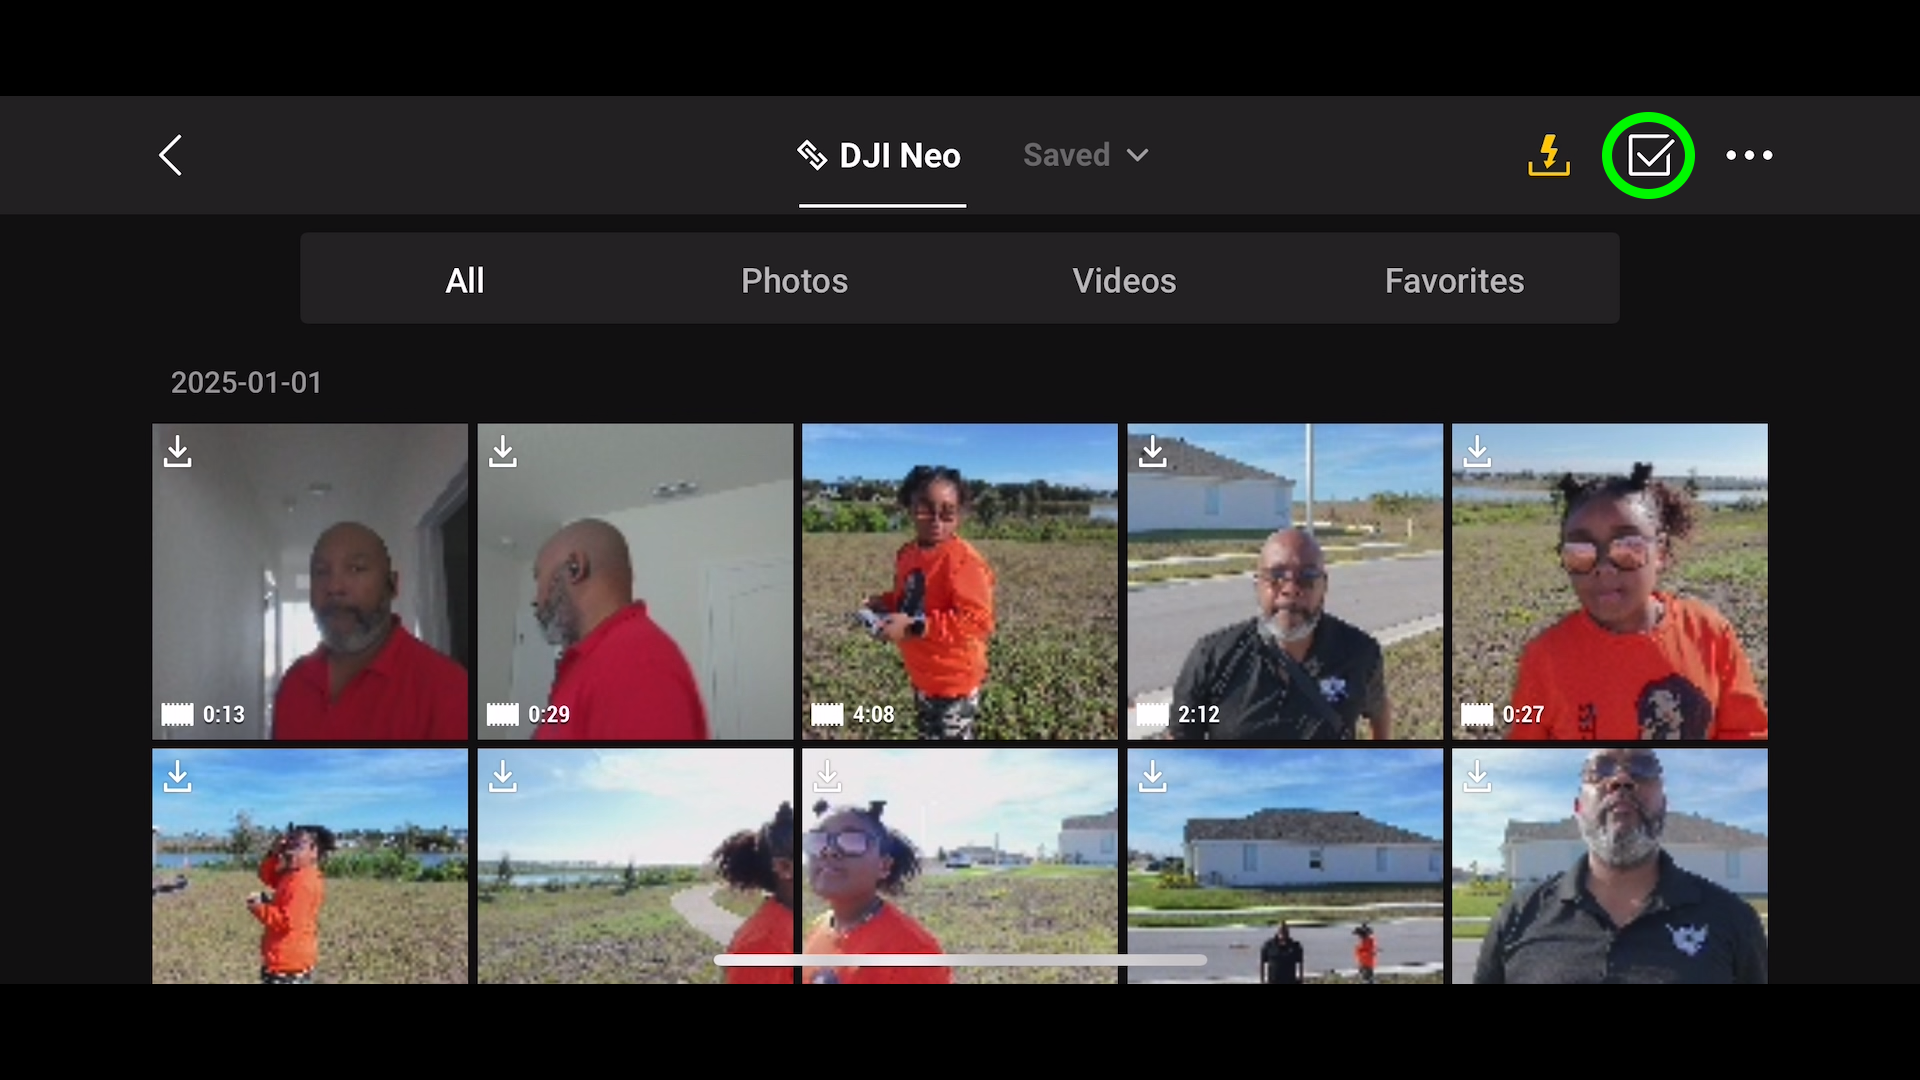
Select View Album to look the content material at the DJI Neo interior garage.
You’ll then make a choice to view Pictures, Movies, or all content material.
Step 6: Press the checkmark within the higher right-hand nook to go into batch choose mode, the place you’ll be able to both in my opinion choose information to obtain or batch choose a couple of information.
Choose the information wanted, then press the obtain button at the backside right-hand nook.
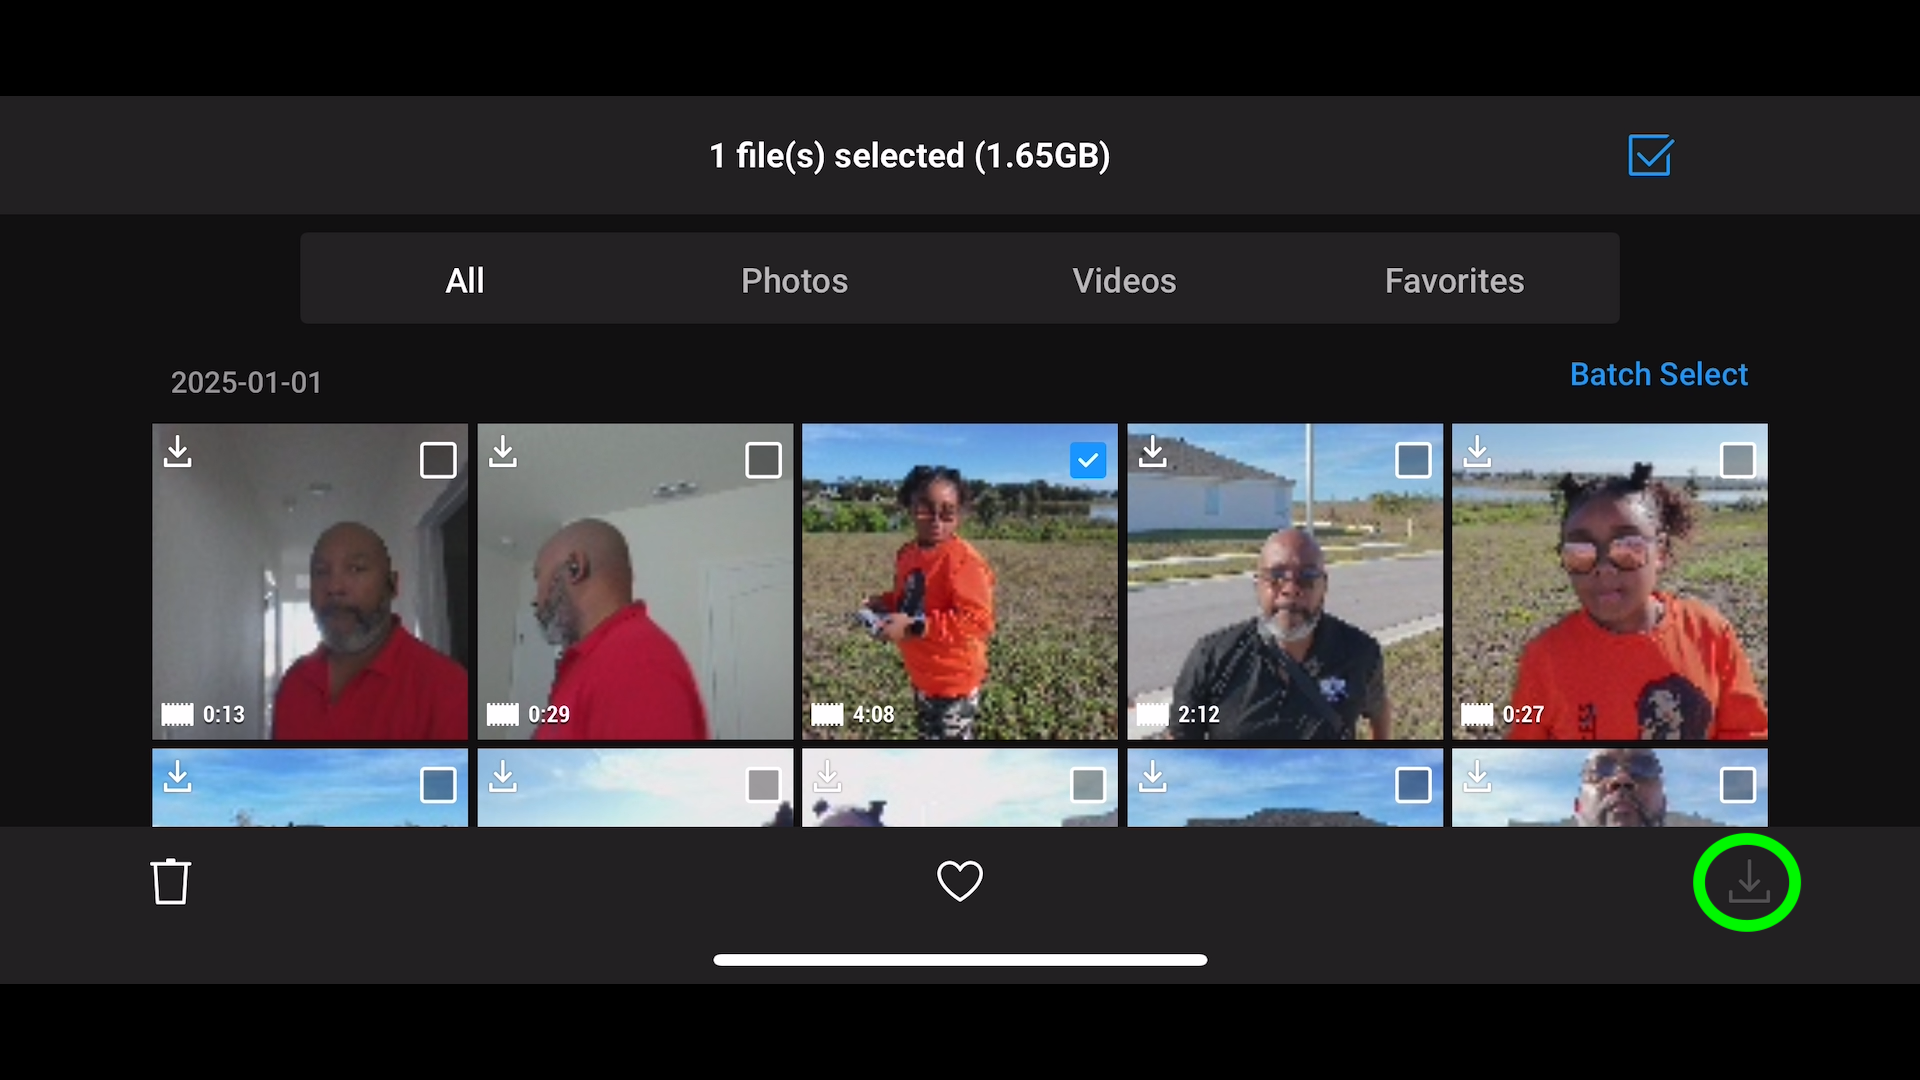
You’ll see a development bar and indicator letting you realize the document(s) are downloading.
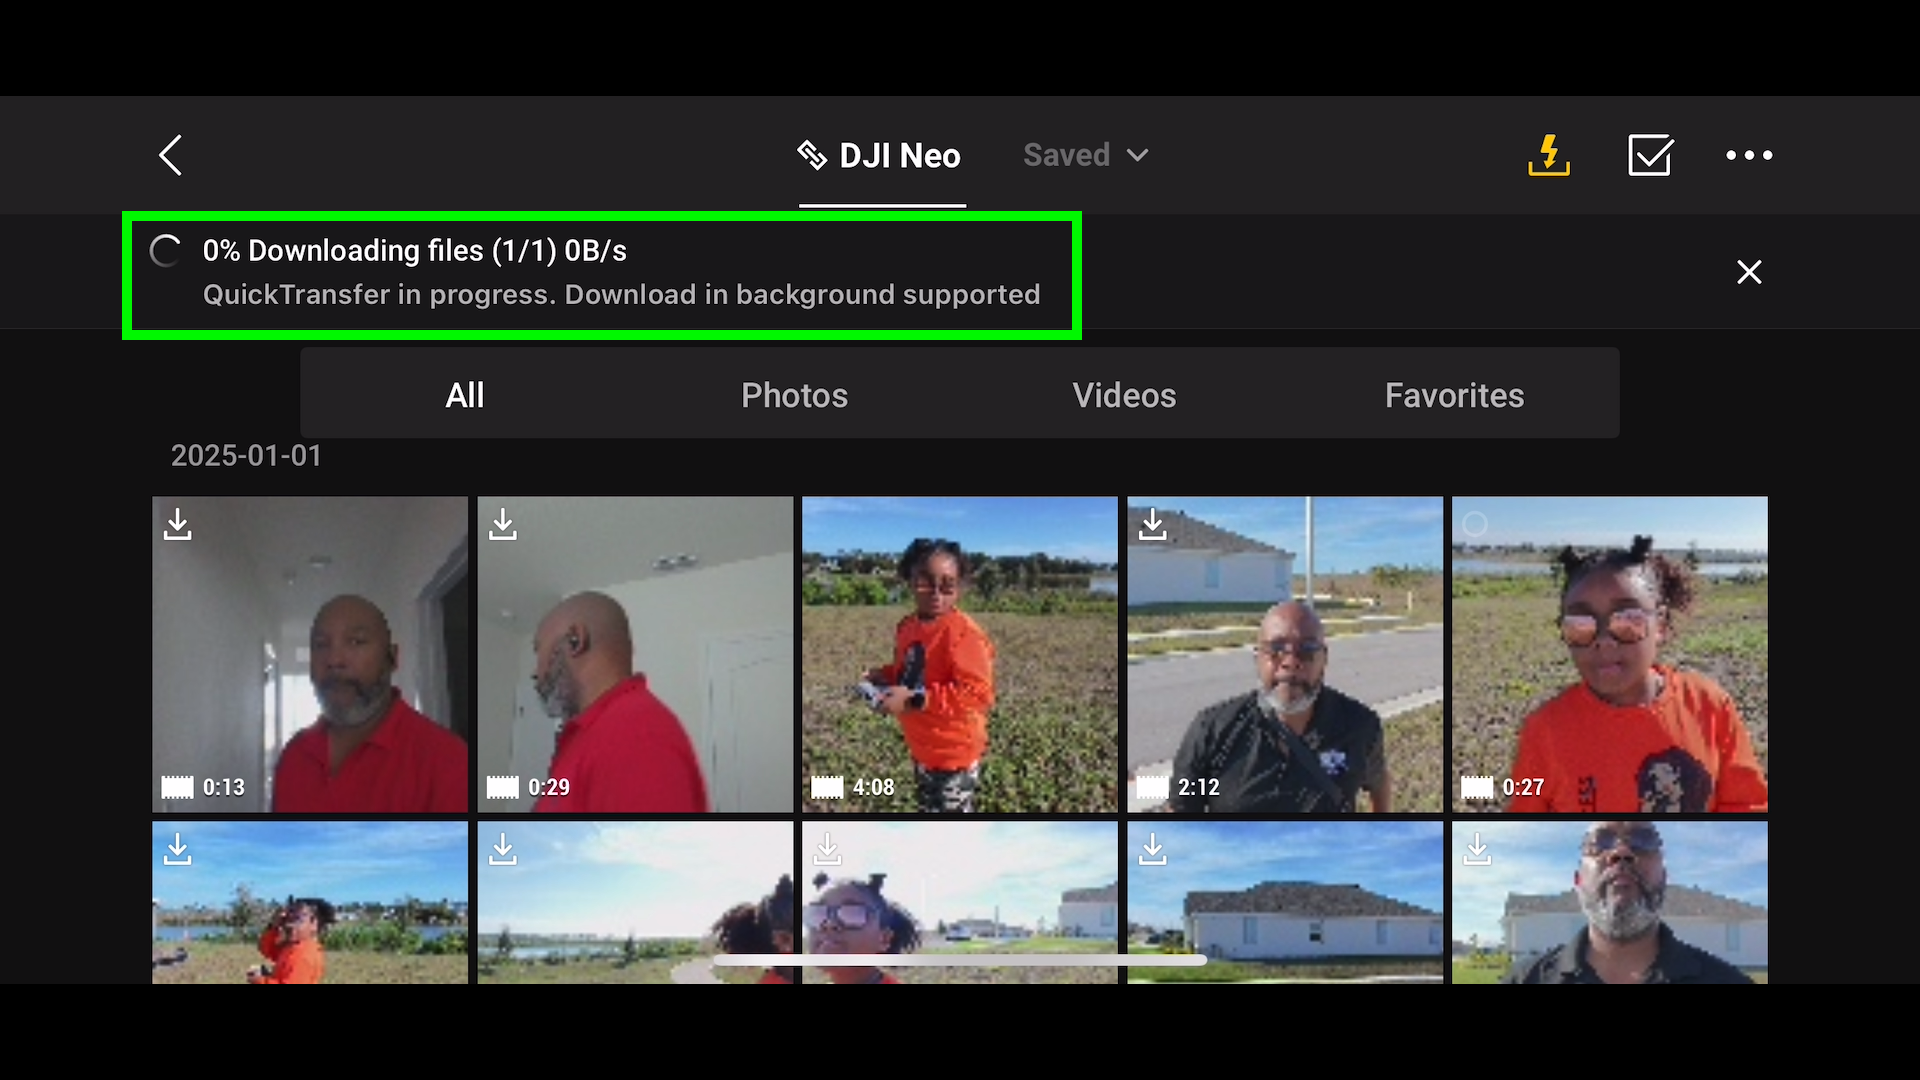
You’ll then get entry to those information from inside your telephone or pill the use of the video/photograph editor or photograph gallery of your selection.
» MORE: DJI QuickTransfer Now not Operating? (Right here’s What to Do)
[ad_2]